
Last updated November 14, 2026
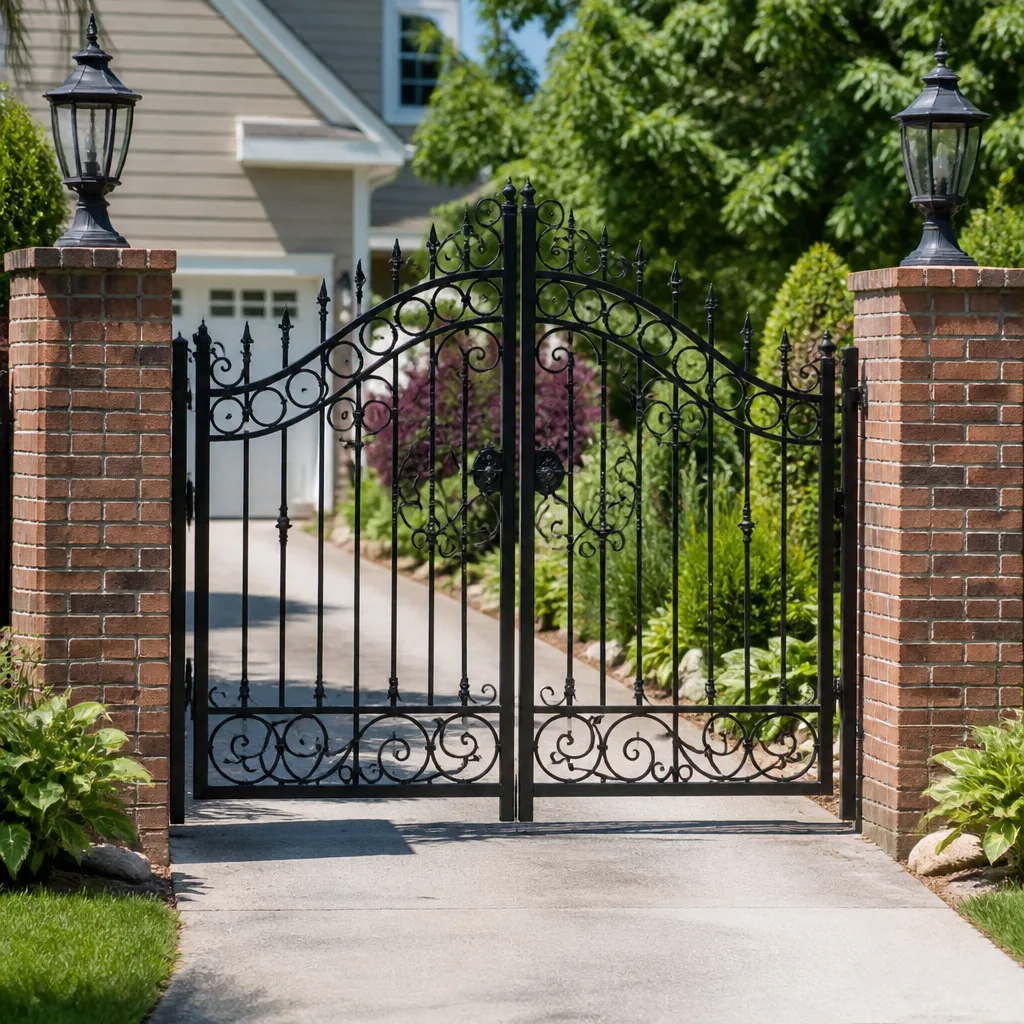 Wrought iron
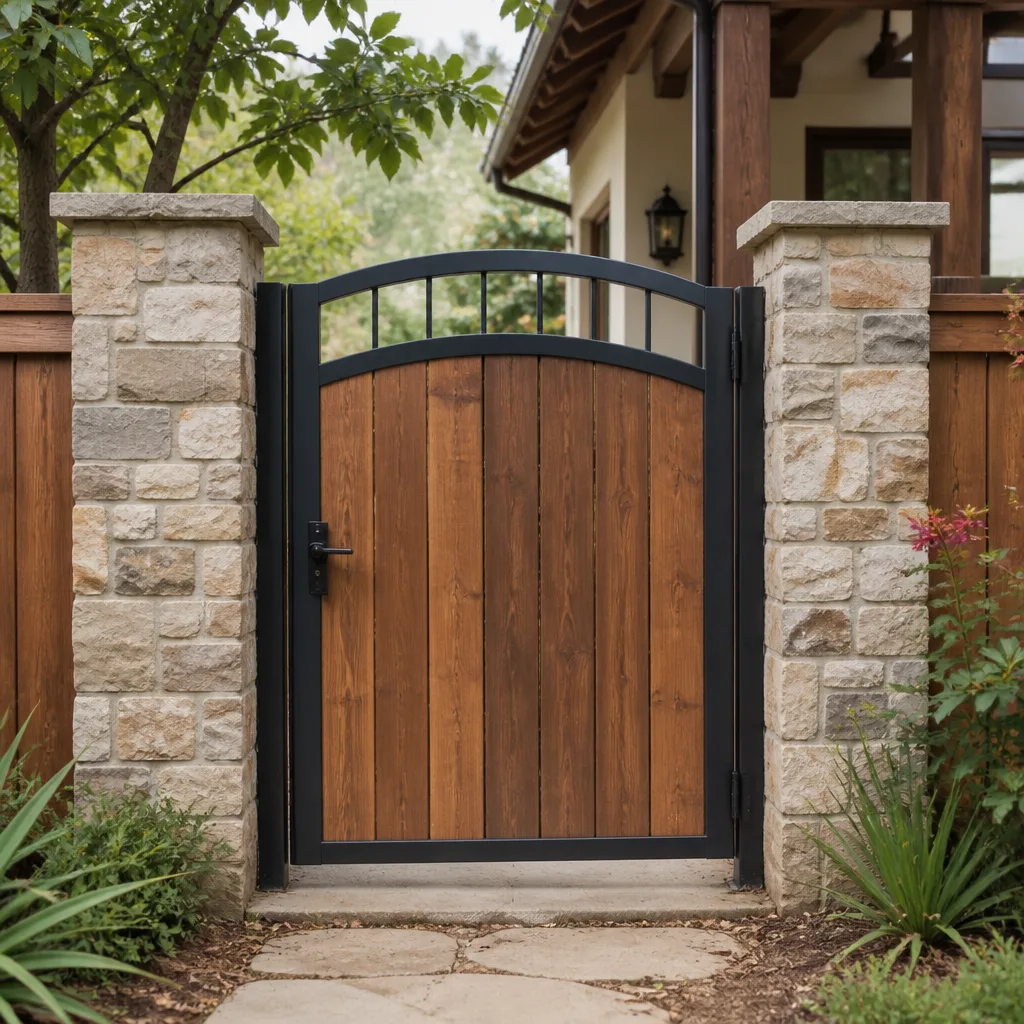 Wood & steel frame
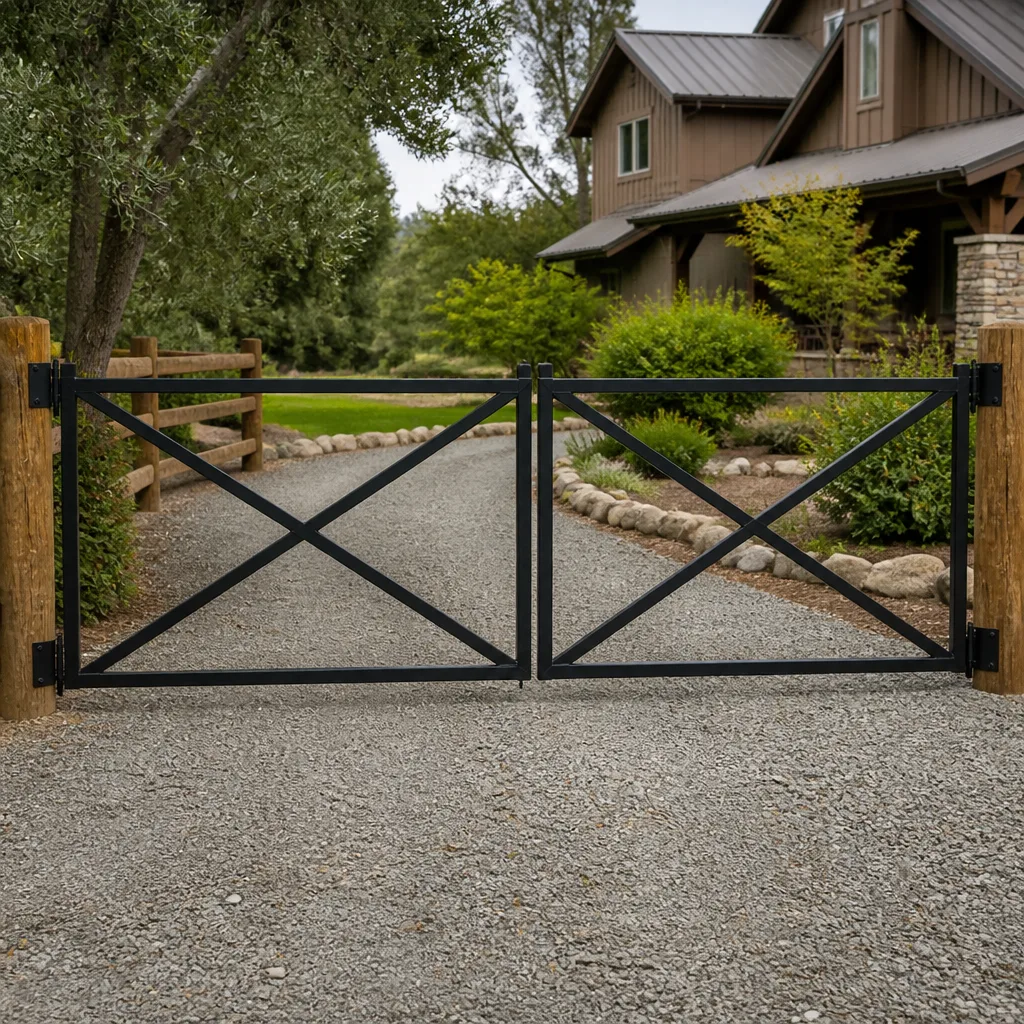 Farm & ranch
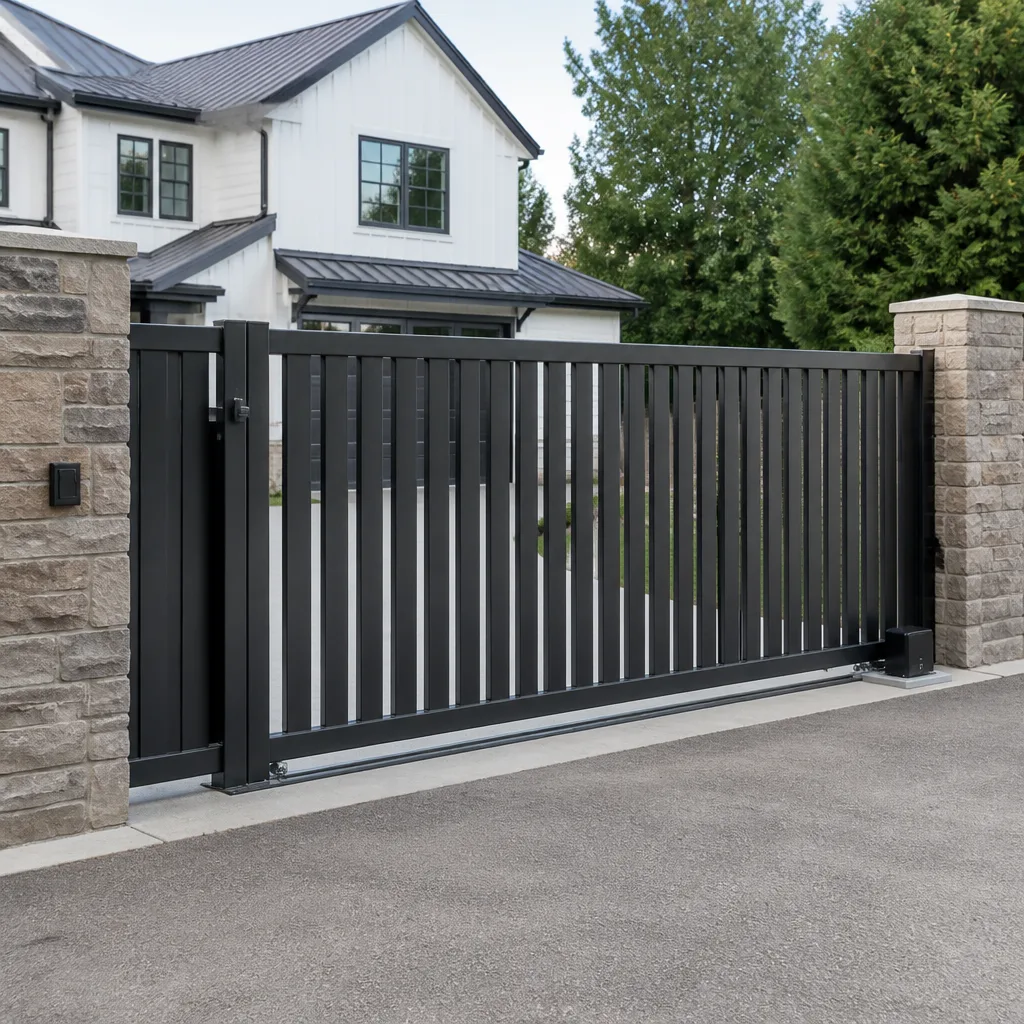 Sliding driveway gates
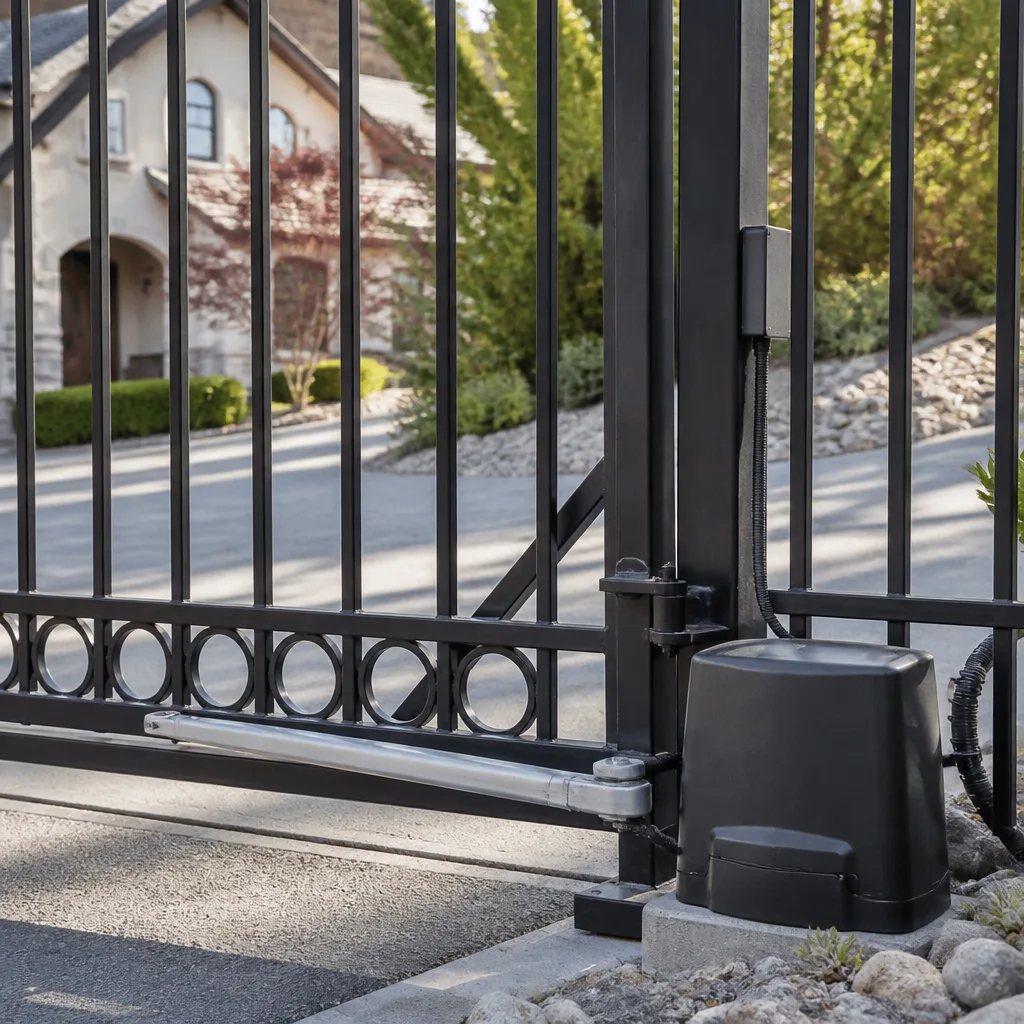 LiftMaster operators
Free on-site gate assessment - hinges, posts, and your LiftMaster or Nice gate operator checked before anything is quoted
The assessment is free and the quote is the invoice.
Get your free estimateGate Repair Maintenance Schedule: What to Do and When
A gate that opens 20 times a day accumulates the same mechanical wear in one year that a low-traffic gate sees in five. Yet most maintenance advice treats every gate the same, handing out a spring-and-fall checklist as if the calendar mattered more than the machine. In our experience, the gates that fail early aren’t the neglected ones; they’re the ones maintained on someone else’s schedule. This guide will show you how to build a schedule around your gate’s cycle count, how Stockton’s heat and dust change which parts wear first, and the two annual inspections most gate companies skip. You’ll leave with a component-based plan you can actually follow.
Quick Answer
Base your gate maintenance schedule on daily cycle count, not the calendar. Low-traffic gates (under 10 cycles a day) need a full inspection and lubrication once a year. Medium-traffic gates (10 to 30 cycles) need it every six months. High-traffic gates (over 30 cycles, common on HOAs and commercial properties) need lubrication quarterly and a hardware inspection every four to six months. In Stockton’s Central Valley heat and dust, rubber seals and solar charge controllers degrade faster than in cooler markets, so check those twice a year regardless of cycle count.
Styles & brands we work with
- Wrought iron
- Wood & steel frame
- Farm & ranch
- Sliding driveway gates
- LiftMaster operators
Table of Contents
- How to Calculate Your Gate’s Daily Cycle Count
- Which Lubricant Belongs on Your Gate Drive System
- What Stockton’s Heat and Dust Wears Out First
- The Two Annual Checks That Prevent Expensive Failures
- Why a Component Schedule Beats a Seasonal One
- Building a Maintenance Log That Protects You
- Brand-Specific Maintenance Notes
- Common Mistakes to Avoid
- When to Call a Professional
How to Calculate Your Gate’s Daily Cycle Count
Every automated gate has a cycle counter, though not every operator displays it the same way. A cycle is one full open-and-close sequence. If you’re not sure how to pull the count from your control board, spend a week observing the gate and tallying openings. Most homeowners are surprised by the number; a gate on a residential driveway in Stockton that the family uses for every errand might run eight to twelve cycles a day, while an HOA entry gate on a busy street can top a hundred.
Here’s how to get a working number:
- Check your operator manual first. Many LiftMaster, Elite, and FAAC control boards track cycles internally and can display or log the count.
- If your system doesn’t track cycles, observe the gate over a typical week and log every open-close pair. Divide by seven.
- Multiply that daily figure by 365 to get an annual estimate. This is the number your maintenance intervals should be built around, not the month on the calendar.
- Note any spike days, such as a weekend event or a delivery-heavy week, and add a cushion to the estimate.
Once you have your daily cycle count, sort your gate into a traffic tier. Low-traffic gates under ten cycles a day can go a full year between full inspections. Medium-traffic gates between ten and thirty cycles should be serviced twice a year. High-traffic gates above thirty cycles, which covers most commercial properties and busy HOAs, need lubrication quarterly and a hardware inspection every four to six months. That single number tells you more about when to maintain your gate than any seasonal advice ever will.
If your gate has stopped counting entirely because the operator has failed, that’s a repair issue rather than a maintenance one. Our electric gate repair team diagnoses motor, control board, and access-system problems for exactly this reason.
Which Lubricant Belongs on Your Gate Drive System
Using the wrong lubricant is worse than using none. Each drive system has one correct family of products, and applying the wrong one attracts grit, gums up moving parts, or lets metal wear against metal. Here’s the breakdown by drive type:
- Chain drive: Use a chain-specific lubricant that penetrates the links and stays put without flinging off. Never substitute motor oil or household grease; both collect Stockton’s airborne dust and turn into an abrasive paste inside the links.
- Rack-and-pinion: Use a dry-film or light grease rated for sliding contact on the rack teeth. Heavy grease traps grit between the pinion and rack, which accelerates wear on the tooth faces.
- Screw drive: Use a clean, light machine oil or the lubricant the operator maker specifies. Screw drives run in a sealed or semi-sealed housing, and thick grease can bind the mechanism and overload the motor.
For hinges, rollers, and latches, a dry silicone spray is the safest default because it doesn’t hold dust. In our experience, the single most common lubrication error on residential gates in Stockton is spraying a wet, sticky lubricant on the chain and then wondering why the gate gets louder within a couple of months. The dust that settles overnight bonds to the tacky surface, and the chain starts grinding it between the pins.
Whatever system you lubricate, apply it to a clean surface. Wipe the chain or rack down first, apply the correct product, and then wipe off the excess. Lubricant that sits on the outside of a component does nothing useful and everything harmful. Match the product to the drive system, keep the surfaces clean, and reapply according to your cycle-based schedule rather than whenever the gate sounds noisy.
What Stockton’s Heat and Dust Wears Out First
Stockton’s Central Valley summers push gate components harder than a coastal market does. Long stretches of dry heat bake rubber and plastic parts, and the dust that moves through the valley settles into every exposed mechanism. A gate company working near the coast worries about different failure modes. Here, the components that degrade fastest are specific and predictable:
- Hinge bearings and bushings: Heat softens grease and the fine dust that accumulates grinds the bearing surfaces. These are usually the first parts to develop play and the first to cause a sagging gate.
- Rubber seals and weather stripping: Constant UV exposure and dry heat crack rubber seals, especially on the operator housing. Cracked seals let in more dust and moisture than they keep out, so they fail in both directions.
- Solar charge controllers: If your gate runs on solar, which is common on rural properties around Stockton, the charge controller works harder in sustained heat. Check its connections and output twice a year, and inspect the panel for dust film, which cuts charging efficiency.
- Control board capacitors: Heat is the enemy of electrolytic capacitors. A control board that runs hot season after season is more likely to fail early, which is one reason we recommend checking operator housing ventilation during every inspection.
None of these components care what month it is. They care about cumulative heat exposure and dust load, which is why we schedule checks on a cycle basis and add a rubber-and-solar inspection in late spring before the hottest stretch arrives. A gate in Stockton that runs high cycles through July and August is effectively aging faster than the same gate in a milder climate, and the maintenance schedule should reflect that.
When heat-related failures do hit, the symptoms usually show up first in the operator rather than the gate itself. If your gate has started reversing without cause, stopping mid-travel, or refusing to respond to the remote, that’s a signal to look at the control board and housing before assuming the motor is gone. Our gate repair work covers motor, control board, and access-system diagnostics for exactly these symptoms.
The Two Annual Checks That Prevent Expensive Failures
These are the inspections most gate companies skip, and skipping them is how a small issue turns into a gate that has to come off its posts. Do both at least once a year, more often on high-cycle gates.
Check 1: Weld Fatigue at Hinge Mounts
Hinge mounts carry the full weight of the gate leaf, and they flex slightly every time the gate moves. Over thousands of cycles, that flex can start a hairline crack at the weld where the hinge plate meets the frame. Stand at the hinge end of the gate, work the leaf gently by hand, and watch the weld seam for any movement or a line of rust that wasn’t there before. A rust line on a weld seam often marks a crack that’s already open. If you see either, stop using the gate and have a technician inspect the weld. A cracked hinge mount is a structural safety issue; a heavy gate leaf can drop or swing free, and that’s a crushing hazard.
Check 2: Ground-Level Corrosion at Post Bases
The bottom of each post is where moisture sits longest, and it’s the part of the gate nobody looks at. Clear away soil, mulch, and debris from around the base, then inspect the steel for pitting, flaking paint, or a rust bloom. On a swing gate, also check the bottom hinge for corrosion where it meets the post. Post base corrosion weakens the anchor point the whole gate depends on, and it progresses quietly. Catching it early means wire-brushing and repainting; catching it late can mean resetting posts.
Both checks take ten minutes and require no tools beyond a flashlight and a rag. Build them into your annual routine and note the results in your maintenance log. A gate that passes these two checks is structurally sound; a gate that fails either one needs professional attention before another cycle runs through it.
Why a Component Schedule Beats a Seasonal One
A seasonal schedule says “service the gate in spring and fall.” That advice sounds organized, but it has one flaw: it assumes every gate ages at the same rate. In our experience, the gate owner who maintains by calendar month is often either over-servicing a light-use gate or under-servicing a busy one.
Component-based scheduling works differently. Each part has its own wear interval, driven by cycle count and local conditions. Rollers and hinges wear with cycles. Lubricant degrades with cycles plus heat. Rubber seals degrade with UV exposure. Solar controllers degrade with heat and dust load. Weld seams and post bases degrade with load and moisture. Once you know each component’s interval, you can build a maintenance plan that targets what actually needs attention and leaves the rest alone.
That’s also why we don’t work from a single fixed calendar. A manual gate on a quiet residential driveway and an automated HOA entry gate running all day need completely different schedules, even if they sit a mile apart in Stockton. The component plan follows the machine. It gets you off the parts-swapping treadmill and onto a maintenance rhythm that actually prevents failures, because every check is tied to a specific wear mechanism instead of a month on the wall.
Building a Maintenance Log That Protects You
A maintenance log is the difference between “the gate has been failing for months” and a documented record of what you checked, what you adjusted, and what warning signs you recorded. That record matters if you ever have to file a warranty claim, deal with an insurance question, or hand a property over to a new manager. It also makes every follow-up service faster, because the technician can see what was done last time.
Keep a simple log with these columns, either on paper or in a spreadsheet:
- Date and cycle count: Note the date and the odometer reading if your operator tracks cycles. Over time you can see your real traffic trend.
- Components checked: List hinges, rollers, chain or rack, seals, solar panel, post bases, weld seams, control board.
- What was adjusted or lubricated: Record the specific product used on the chain or rack, plus any tension or limit adjustments.
- Failure thresholds observed: Note anything that is close to a limit, such as a hinge with visible play, a seal with a developing crack, or a post base with surface rust.
- Photos: Snap the weld seams and post bases each time. A photo makes a slow change obvious.
The log should take two minutes to fill in. Capture the failure thresholds specifically, because those are what trigger your next action. If you note that a hinge bushing has a quarter-inch of play, that’s an observation, not a repair. When the play grows to half an inch, your log tells you exactly when it started and how fast it’s worsening, and you can schedule the fix before the gate sags.
With nine major brands under our belt, including LiftMaster, FAAC, Mighty Mule, and Elite systems, we’ve seen how documentation helps on every one of them. Our team at Gate Repair Stockton will note the cycle count, the parts inspected, and the failure thresholds during any service visit.
Brand-Specific Maintenance Notes
Maintenance intervals are universal, but the checks aren’t, because each brand’s operator and control board have their quirks. Here’s what usually matters most by brand:
- LiftMaster: Many residential and light-commercial systems run on chain or belt drives with a straightforward cycle counter. Focus maintenance on the chain lubricant and on their control board’s diagnostic indicators.
- FAAC: Common on heavier swing gates and commercial entries. Pay close attention to the operator housing seals in Stockton’s heat, since a failed seal lets dust into the internal mechanism.
- Mighty Mule: Frequently installed on residential gates and often solar-powered. Check the solar panel film and charge controller twice a year, and inspect the control board housing for heat exposure.
- Elite: Found on residential and commercial systems with a range of drive types. Match the lubricant strictly to the drive, and inspect the operator housing ventilation during every service.
Knowing the brand tells you what to inspect closely, but it also tells you something about what to leave alone. A control board or a gearbox housing that’s sealed shouldn’t be opened by a generalist with a can of grease. If your gate is from one of the nine brands we handle, the technician knows the system and won’t be guessing at your operator. For example, our team at Stockton routinely works on LiftMaster, FAAC, BFT, Linear, Viking, Ghost Controls, DoorKing, Elite, and Mighty Mule equipment.
Common Mistakes to Avoid
- Lubricating on a fixed calendar instead of by cycle count. A gate that runs eight cycles a day doesn’t need monthly attention, and a gate that runs eighty does. Match the interval to the traffic tier, not the month.
- Using wet, sticky lubricant on a chain or rack. In Stockton’s dusty conditions it traps grit and accelerates wear. Use a chain-specific product and wipe off the excess every time.
- Skipping the post-base inspection because it means getting on your knees. Post base corrosion is the most quietly destructive failure on the list, and it never announces itself until the gate sags.
- Treating a hairline crack at a hinge mount as cosmetic. Weld fatigue on a load-bearing mount is a real safety issue. Stop using the gate and have the weld inspected.
- Adjusting limit switches or force settings to mask a developing problem. If the gate needs a setting change to work properly, something mechanical is usually the root cause. Find the cause instead.
- Ignoring the solar panel and charge controller. A dusty panel or a heat-stressed controller makes the whole system look faulty when it’s really just undercharged.
- Letting a general handyman guess at a control board. These systems are technical, and a wrong diagnosis costs more than the original call. Use a gate specialist who knows the brand.
When to Call a Professional
Some maintenance you can do yourself, but some symptoms need a specialist. Call us if the gate sags or drags, if you see a crack or rust line at a hinge weld, if the post bases show pitting, if the operator reverses without hitting anything, if the control board lights show a fault pattern, or if the gate stops mid-travel. These are the signs that a component is failing, and continuing to cycle the gate can turn a repairable issue into a replacement. Safety matters here: heavy gate panels and operator wiring are both hazards, and anything involving the motor, power supply, or control board should be handled by a trained technician rather than attempted at home. Gate Repair Stockton offers free estimates in Stockton, and we can come out to assess what your schedule needs. Call (833) 946-1127.
Frequently Asked Questions
For a gate under ten cycles a day, once a year is usually enough for a full inspection and lubrication, with an extra rubber-seal and solar check in late spring because of the valley heat. Gates running ten to thirty cycles a day should be serviced every six months. If your gate is above thirty cycles a day, move to quarterly lubrication and a hardware inspection every four to six months. Cycle count drives the interval, not the season. Call (833) 946-1127 for an exact schedule based on your gate.
Use a chain-specific lubricant that penetrates the links and stays in place, and never substitute motor oil or household grease. Wet, sticky products attract the fine dust that moves through Stockton and turn into an abrasive paste inside the chain. Wipe the chain down first, apply the product, and wipe off the excess. If you’re not sure which product your drive system needs, call (833) 946-1127 and we’ll tell you what to use.
Stockton’s long, dry Central Valley summers and airborne dust accelerate wear on hinge bearings, rubber seals, and solar charge controllers. Heat softens grease and breaks down rubber, while dust grinds at exposed bearing surfaces. That’s why we add a late-spring inspection for seals and solar components regardless of cycle count. If your gate is showing heat-related symptoms, call (833) 946-1127 for an assessment.
You can safely do the visual checks: inspect hinge welds, clear debris from post bases, wipe down the chain or rack, and clean the solar panel. Anything involving the operator, motor, control board, or wiring should go to a technician, and cracked hinge welds need a professional inspection. A heavy gate panel or live operator wiring is genuinely dangerous to work around. Call (833) 946-1127 if a check turns up anything that concerns you.
The two most expensive failures are a dropped gate leaf from weld fatigue at a hinge mount and a post base that has corroded to the point the anchor fails. Both are preventable with an annual visual check, and both cost far less to catch early than to repair after a collapse. Control board failure from prolonged heat exposure is another costly one on solar-equipped systems. Call (833) 946-1127 to have us check your gate before a small issue becomes a big one.
We work on nine major gate brands: LiftMaster, FAAC, BFT, Linear, Viking, Ghost Controls, DoorKing, Elite, and Mighty Mule. These cover the most widely installed residential and commercial systems on the market. We’re independent and experienced, so we diagnose the right problem rather than pushing a replacement. Call (833) 946-1127 to confirm your system and get a free estimate.
The Bottom Line
Gate maintenance works best when it follows the machine, not the calendar. Find your daily cycle count, sort your gate into a traffic tier, and set lubrication and inspection intervals around that number. In Stockton’s heat and dust, add a late-spring check for hinge bearings, rubber seals, and solar charge controllers, because those components degrade faster here than in cooler markets. Do the two annual checks most companies skip: weld fatigue at hinge mounts and corrosion at post bases. Keep a log that records what was checked and what warning signs you saw. Match your lubricant to your drive type, and never mask a mechanical problem with a limit switch adjustment. Call (833) 946-1127 to schedule a free estimate with technicians who know your brand and your system.
Written by the team at Gate Repair Stockton, serving Stockton since 2017.
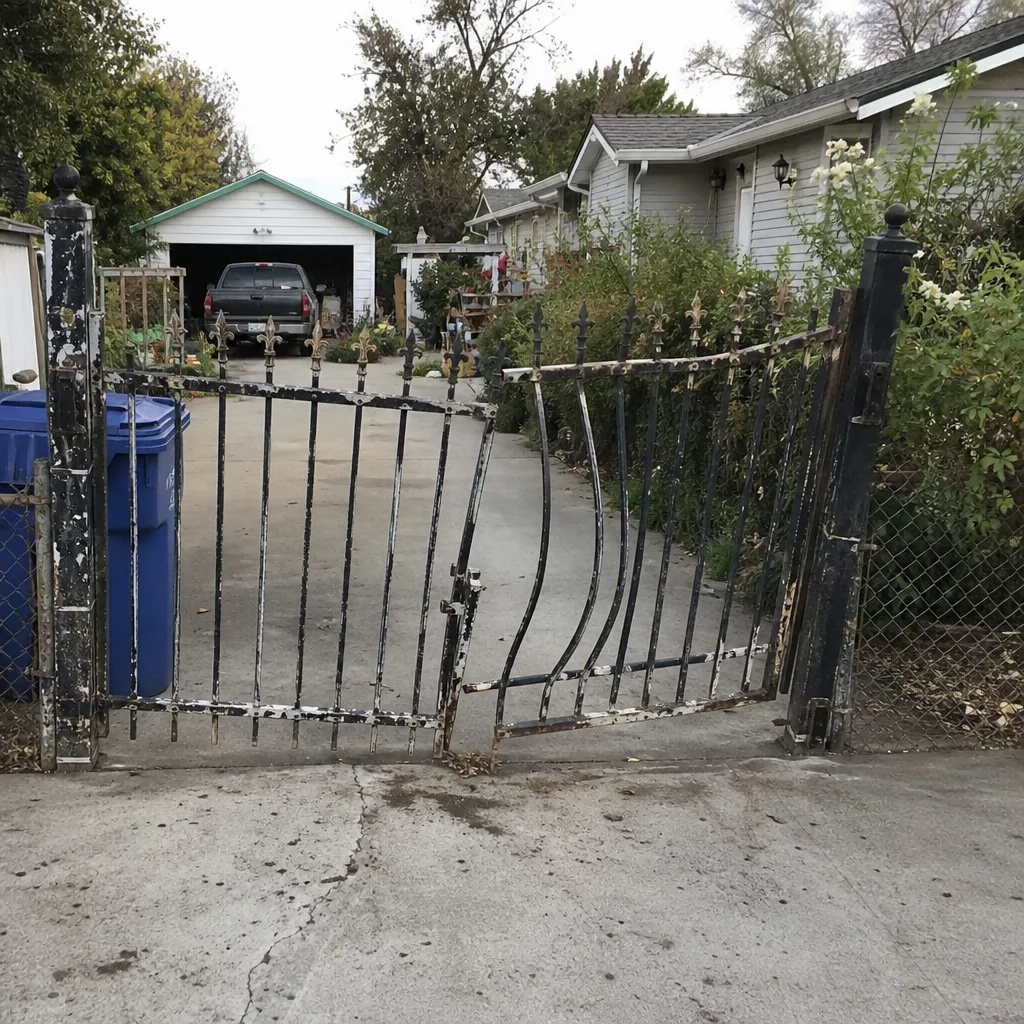
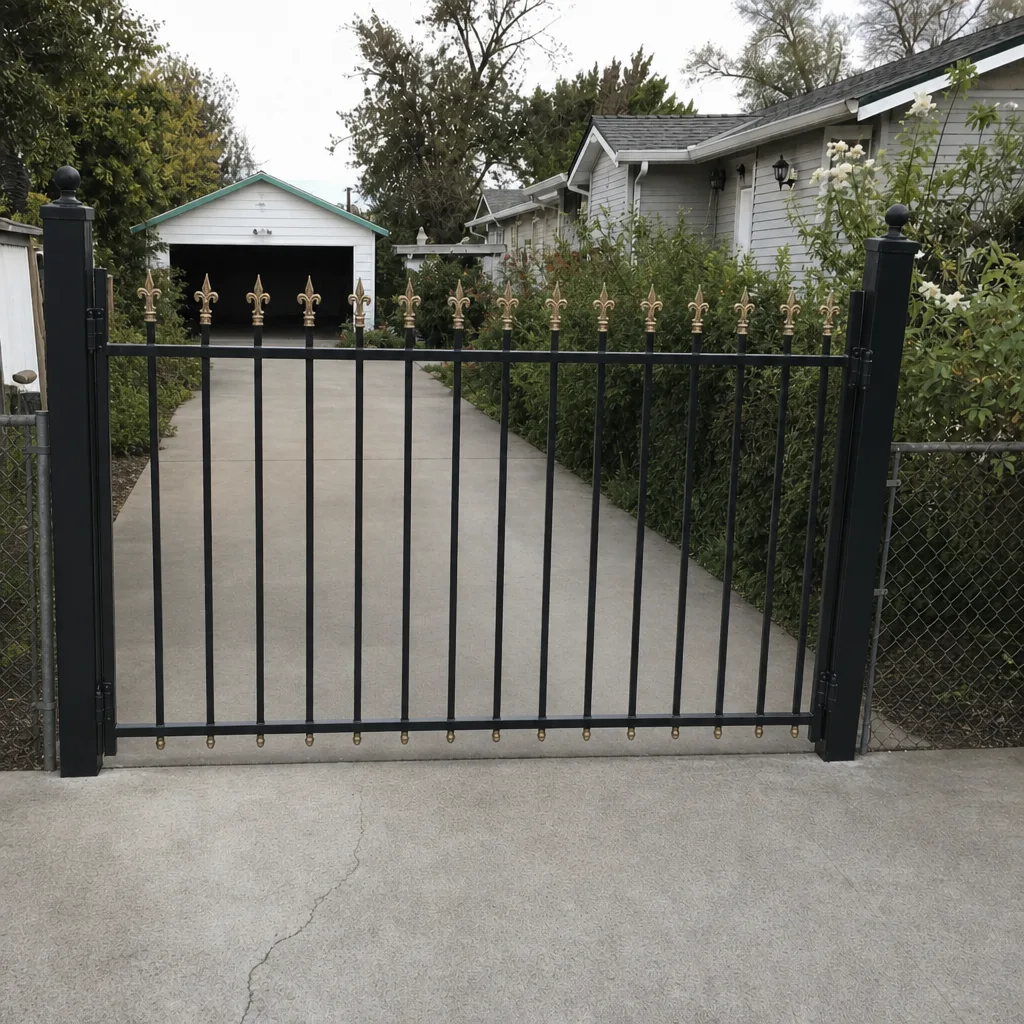
See the difference
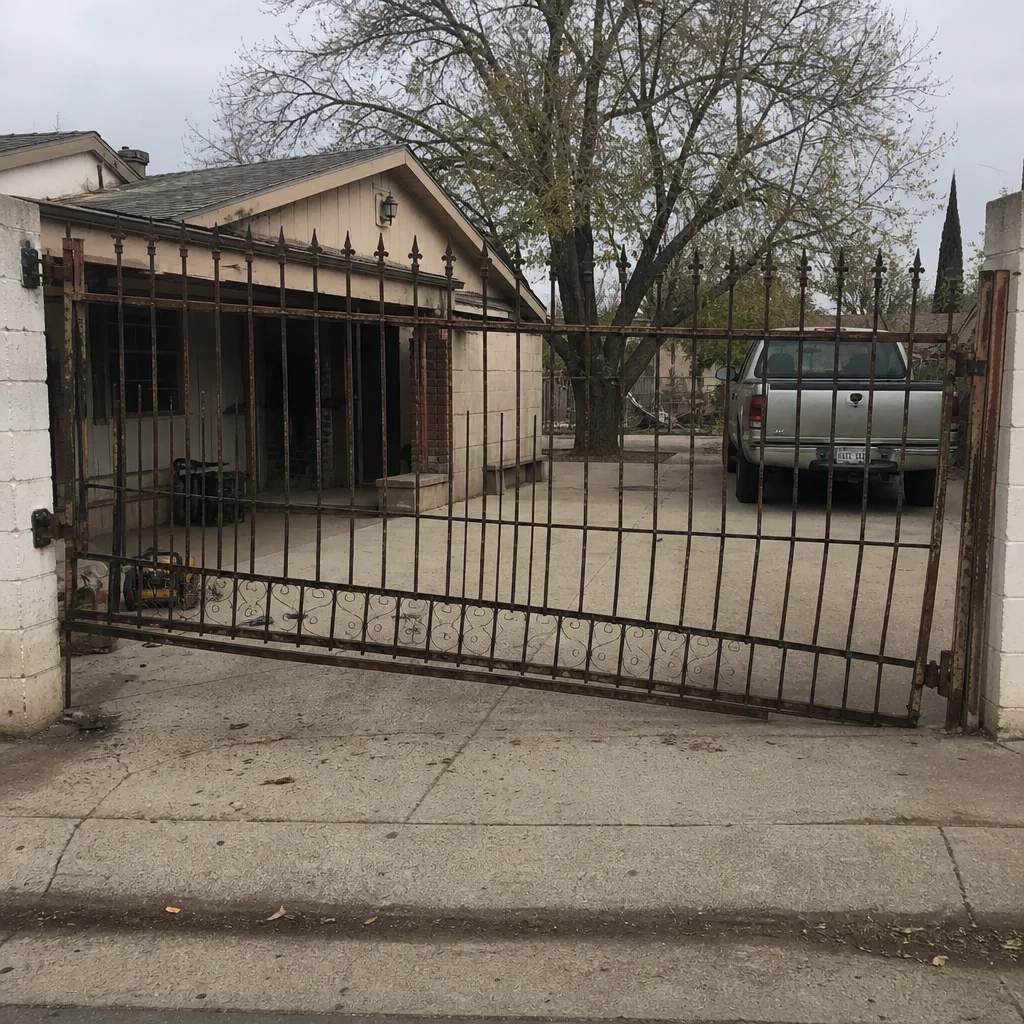 Before
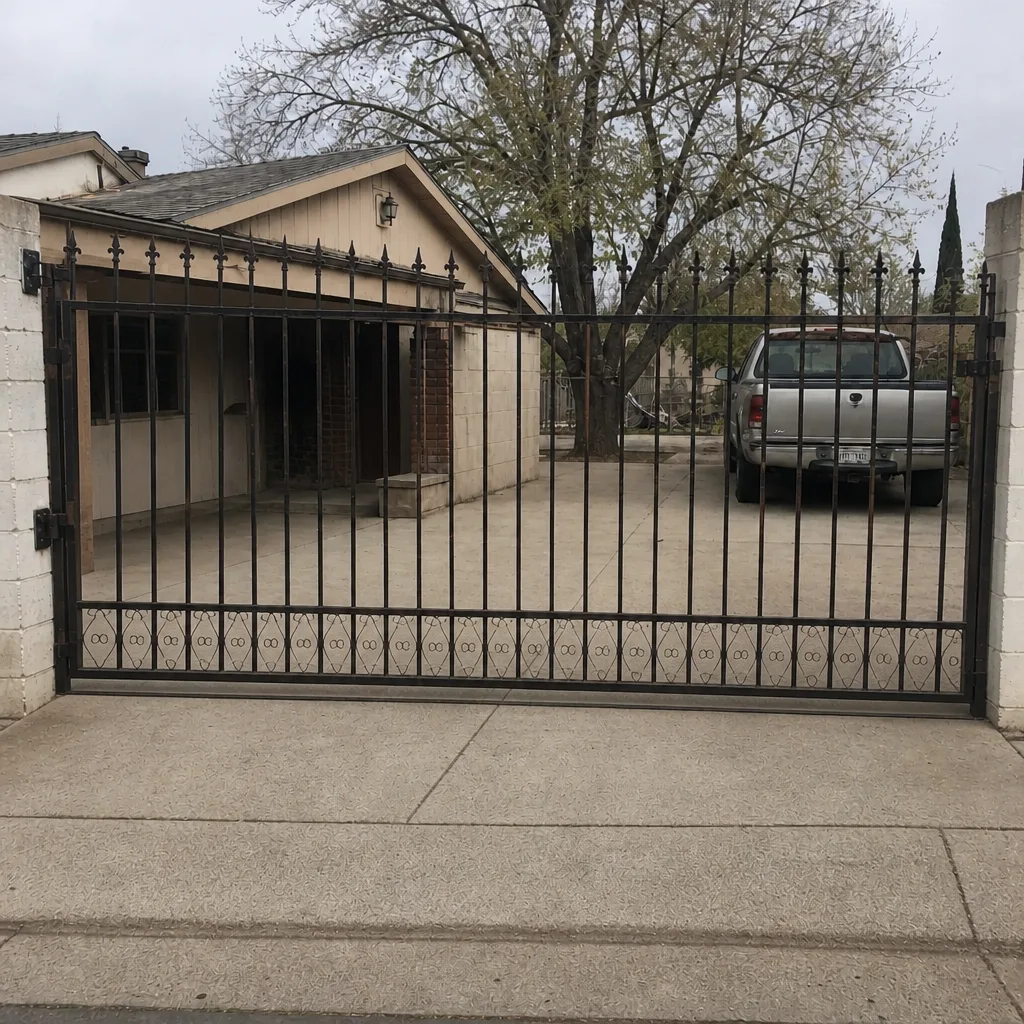 After
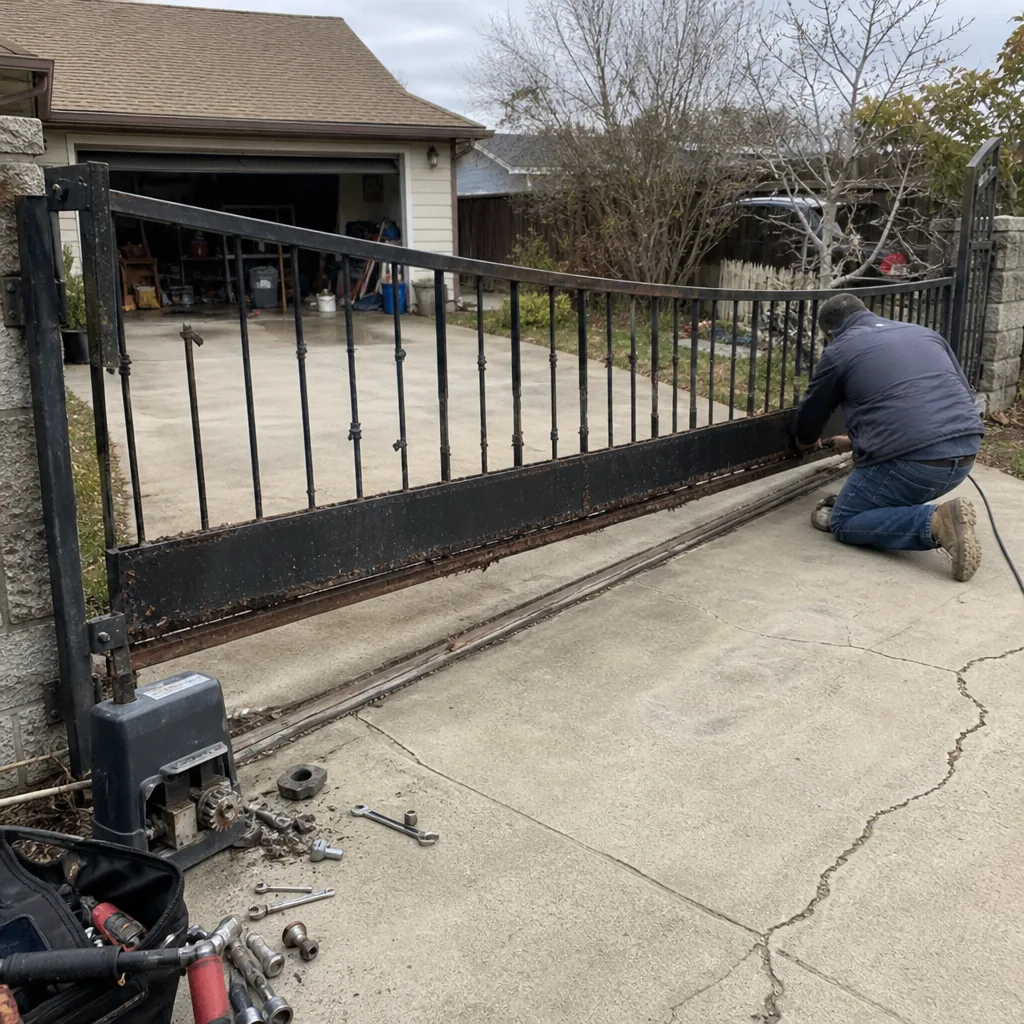 Before
 After
 Before
 After