
Last updated November 14, 2026
 Wrought iron
 Wood & steel frame
 Farm & ranch
 Sliding driveway gates
 LiftMaster operators
Free on-site gate assessment - hinges, posts, and your LiftMaster or Nice gate operator checked before anything is quoted
The assessment is free and the quote is the invoice.
Get your free estimateGate Repair Maintenance Checklist for Stockton Homeowners
The number-one cause of gate motor burnout isn’t age. It’s mechanical resistance the motor has been silently compensating for, often for months. A hinge that no longer swings freely, a roller worn flat on one side, a track that has drifted a quarter inch out of line: none of these stop the gate. They just make the motor push harder every single cycle, until the day it can’t. The checklist below is built around that fact. It’s a system-level inspection protocol, not a lubrication reminder, and it’s tuned to what actually breaks on gates in Stockton. You’ll learn the seven-point physical check, how to test limit switch calibration without tools, which lubrication points are brand-specific, and the documentation habits that protect you when something fails.
Quick Answer
A gate maintenance checklist for Stockton homeowners should cover seven physical checkpoints (hinges, rollers, tracks, chains, latches, posts, and the gate leaf itself), operator and control-board inspection, limit switch verification, brand-specific lubrication, loop detector and safety device testing, and a written maintenance log. Do this full inspection twice a year, with a lighter visual pass every month, and pay special attention to loop detectors and control boxes as Stockton summer temperatures climb past 100°F. Catching mechanical resistance early is what separates a small adjustment from a motor replacement.
Styles & brands we work with
- Wrought iron
- Wood & steel frame
- Farm & ranch
- Sliding driveway gates
- LiftMaster operators
Table of Contents
- The Seven-Point Physical Inspection
- Testing Limit Switch Calibration Without Tools
- Brand-Specific Lubrication Points
- How Stockton Heat Affects Loop Detectors and Control Boards
- Electrical Components: What to Check and What to Leave Alone
- Documentation That Protects You Outside Warranty
- Seasonal and Monthly Schedule
- When to Call a Professional
The Seven-Point Physical Inspection
Start with the gate in manual mode. Disconnect the operator (most residential arms and slide operators have a release key or lever) and move the gate by hand through its full travel. This single step tells you more about mechanical wear than anything else on this list, because a healthy gate moves with light, even effort. If you feel a bind, a grind, or a spot where the gate suddenly gets heavy, you’ve found resistance the motor has been fighting. Work through these seven checkpoints in order:
- Hinges. On swing gates, lift the gate leaf slightly at the latch end. Any vertical play means a worn hinge pin or bushing. Check for rust streaks and for hinges that have pulled slightly out of the post.
- Rollers. On slide gates, spin each roller by hand. It should turn smoothly with no flat spots and no wobble. A squared-off roller drags on every pass and is one of the most common hidden sources of resistance.
- Tracks. Run a straightedge or a taut string along the track. The track should be level and straight. Debris packed into the track channel, especially grit blown in during Stockton’s dry summer months, acts like sandpaper on rollers.
- Chains. On chain-driven operators, check tension by feel, look for kinks, and inspect the master link. A chain that slaps or jumps is either too loose or has a worn sprocket.
- Latches and stops. Confirm the gate latches cleanly and the physical stops are intact. A gate that slams into a stop hammers the operator every cycle.
- Posts and mounts. Push firmly on each post. Any movement at the base means the footing or the hardware is failing. Operator mounting brackets should be tight with no cracked welds.
- The gate leaf itself. Check the frame for sag, loose pickets, and rust at the joints. On wood gates, look for swelling at the bottom rail from irrigation overspray, which is common in landscaped yards around Stockton.
Write down anything you find, even if it seems minor. That list becomes the first entry in your maintenance log, and it gives any technician a clear starting point.
Testing Limit Switch Calibration Without Tools
Limit switches tell the operator where the gate’s open and closed positions are. When they drift, the gate keeps pushing against the stop after it has arrived, which loads the motor, heats the control board, and drains your battery backup. You can spot drift with no tools at all. Watch and listen through three or four full cycles and look for these signals:
- The gate hesitates, coasts, or reverses slightly at either end of travel.
- The motor continues to hum or strain for a second or two after the gate has stopped.
- The gate stops short of fully closed or fully open, or slows noticeably before the end.
- The operator beeps or flashes a fault after a cycle, or an arm operator’s clutch slips.
If you see any of these, the limit setting has likely moved. On many operators, including common residential arms and slide units, the adjustment is a cam or a set screw on the operator housing. That’s where we recommend stopping and calling a technician. A limit set too far will drive the gate hard into its stop, and a limit set too close will leave a gap in your perimeter. Neither is a job to learn on your own system. In our experience with DoorKing slide operators in particular, a limit that’s a few degrees off won’t always show up in normal cycling but will eventually trip the operator’s internal fault and leave you locked out.
The battery backup angle deserves attention here. Trickle-charged batteries fail slowly, and the first sign is usually that the gate behaves strangely after a power interruption. If your operator runs on a battery backup and the behavior changed, test the limits before you replace the battery.
Brand-Specific Lubrication Points
This is where a generic checklist does real damage. What works on a LiftMaster arm can harm a DoorKing rack-and-pinion drive. The lubrication points are different because the mechanisms are different, and using the wrong product attracts grit, swells seals, or washes out the grease the manufacturer packed in at the factory.
- Arm operators (common on residential swing gates) need light lubrication at the pivot points and a clean, dry arm. Heavy grease on the arm collects dust and grit, which then grinds into the pivots.
- Rack-and-pinion slide operators need the rack teeth cleaned and lightly greased with a product that won’t run off in heat. On a DoorKing rack-and-pinion, the rack is the wear surface, and a dry rack chews through pinion gears.
- Chain drives need chain-specific lubricant, applied sparingly. Never use a spray that leaves a sticky film, because it traps every bit of dust the gate kicks up.
- Rollers and hinges on the gate itself take a dry or silicone-based lubricant. Avoid oil that drips, since it stains driveways and attracts grit.
Brand matters here. A Ghost Controls residential arm, a Viking swing operator, and an Elite slide unit each have their own recommended points and their own tolerance for what gets put on them. If you don’t know the model of your operator, find the label before you lubricate anything. Then write the brand and model into your log so you don’t have to hunt for it again. Our electric gate repair page covers what happens when lubrication is neglected too long, and the failure modes tend to be consistent across brands.
One more point: don’t lubricate the loop detector, the control box interior, or any electrical connection. Lubricant near a control board is a short-circuit waiting to happen.
How Stockton Heat Affects Loop Detectors and Control Boards
Stockton summers routinely push above 100°F, and that heat is the single biggest environmental factor in gate reliability here. Two components take the brunt: the control board and the loop detector.
Loop detectors work by sensing a shift in an electromagnetic field. Heat changes the characteristics of the loop wire in the ground and the electronics in the detector, which can make the detector more sensitive or, more commonly, less stable. A gate that works all spring and starts behaving oddly in July is often a loop detector problem, not an operator failure. Metal gates expand slightly in heat, too, which can change clearances at the latch and create a bind that wasn’t there in cooler weather.
Control boards sit inside enclosures that get hot. Add afternoon sun and a closed box, and you have an environment that stresses capacitors and solder joints. Practical steps for Stockton homeowners:
- Shade the control enclosure. A simple shade structure or relocating the enclosure to the shaded side of a post helps. Never block ventilation openings.
- Look for cracks in the enclosure. An enclosure that’s no longer sealed lets dust and moisture in, both of which shorten board life.
- Reset and recheck in June. Each June, do a full safety-device test: trip the loop, test any photo eyes, and confirm the gate reverses when it should. Note the results.
- Watch for sun-facing sensors. Photo-eye pairs that sit in direct afternoon sun can false-trip. Repositioning them or cleaning the lenses is often the fix.
- Clean the track and rack more often in summer. Dust and grit accumulate faster in dry months, and that resistance is what overheats a motor.
If your gate’s behavior changes with the heat and comes back to normal in the evening, treat it as an electrical component issue and get it diagnosed. For more on what causes gate failures in Stockton, see our Gate Repair Stockton page.
Electrical Components: What to Check and What to Leave Alone
Gate operators run on line voltage, and a gate that’s still moving has parts that can crush. Safety here isn’t about caution so much as knowing where the line is. Check these things visually, with the power off and the gate in manual mode: the condition of the power cord or conduit, the enclosure seals, the presence of any scorch marks or burning smell near the control board, and the security of the terminal connections you can see without touching. Take photos so you can compare over time.
Leave these to a trained professional: any wiring inside the enclosure, replacing the control board, testing or replacing the loop detector wiring, adding or adjusting safety edges, and anything involving the operator’s motor windings. Safety edges and photo eyes are your gate’s first line of defense against crushing a child or a pet, and a falsely wired or misaligned safety device makes the gate more dangerous, not less. If a safety edge is damaged or a photo eye isn’t reacting, stop using the gate and call a technician. For the full scope of electrical work, our gate repair service covers diagnostics on motors, control boards, and access systems.
Documentation That Protects You Outside Warranty
A gate is equipment, and equipment has a service life. Good records are what let a contractor diagnose your gate quickly and let you prove what happened if something fails after the manufacturer’s warranty period ends. Any reputable contractor will want to see a service history, not just a description of the current problem. Here’s what to keep:
- Brand and model of the operator, the control board, and the access system. Photograph every label.
- Installation date and any work done since. Even a handwritten note is fine.
- Your inspection log with dates and what you found. Note any part you adjusted or replaced.
- Photos taken at the same angle over time so you can see change.
- The original invoice and any warranty documentation, kept together in one folder, digital or paper.
This documentation is more than recordkeeping. If you call a technician and can say “the limit switch has been creeping for two months, and the control board is a DoorKing model from the install,” you’ve saved an hour of diagnosis. Our team is fluent across LiftMaster, FAAC, BFT, Linear, Viking, Ghost Controls, DoorKing, Elite, and Mighty Mule systems, so a brand-specific record means we can come prepared. For a broader look at the area we serve, see Stockton.
Seasonal and Monthly Schedule
A checklist only works if it’s on a schedule. Use this rhythm as a baseline, then adjust for how hard your gate works and what its environment throws at it.
- Monthly: a visual walk-around. Check for debris in the track or rack, listen for unusual motor strain, and confirm the gate latches cleanly. Two minutes, done from the car if you like.
- Every three months: test the safety devices, clean the photo eyes, and look at the battery backup indicator if your operator has one.
- June: the heat check. Reset and test the loop detector and safety devices, inspect the control enclosure, and clean the track and rack thoroughly. Stockton’s summer is the stress test for the year.
- October: the wind-down inspection. Full seven-point physical check, brand-specific lubrication, and a review of the log. This is the pass that catches what summer wear left behind.
- After any power interruption or storm: cycle the gate fully and watch for limit drift.
Write the dates in your log each time. A schedule you can prove is worth more than a schedule you intended.
Common Mistakes to Avoid
- Greasing everything the same way. Spraying a heavy lubricant on every pivot and chain point attracts grit and can damage seals on some operators. Match the lubricant to the mechanism and the brand.
- Ignoring a slow gate. A gate that “still works, just slowly” is the most expensive thing on this list. Slow travel usually means resistance, and resistance is what burns out motors.
- Skipping the loop detector test in summer. Stockton heat destabilizes loop detectors, and a detector that doesn’t sense a vehicle won’t hold the gate from closing. That’s a safety issue, not a convenience one.
- Forcing the gate past a bind. If the gate binds partway through travel, don’t force it. Forcing a jammed gate bends arms, strips gears, and can injure you.
- Adjusting the limit switch without notes. If you do adjust a limit, write down how far and in which direction. Unrecorded adjustments turn a small fix into a mystery.
- Keeping no service log. Without it, every visit starts from scratch, and a warranty claim becomes your word against a service history that doesn’t exist.
- Ignoring the gate’s physical structure. A loose post or a rusted-through bottom rail isn’t the operator’s problem, but it will be soon enough. Fix the structure, not just the electronics.
When to Call a Professional
Some jobs belong in a homeowner’s hands: cleaning the track, checking hinges, noting drift. Others don’t. Call a professional when the gate binds or reverses unexpectedly, when the operator hums and stalls, when a safety edge or photo eye is damaged, when the control board shows any sign of heat damage, when a post or footing has moved, or when the limit switch needs adjustment and you aren’t sure of the procedure. Also call if a magnetic lock, keypad, or intercom stops releasing. Those are access-system issues, and guessing at them is how a small fault becomes a full board replacement. Gate Repair Stockton offers free estimates in Stockton. Call (833) 946-1127. We answer 24/7.
See the difference
 Before
 After
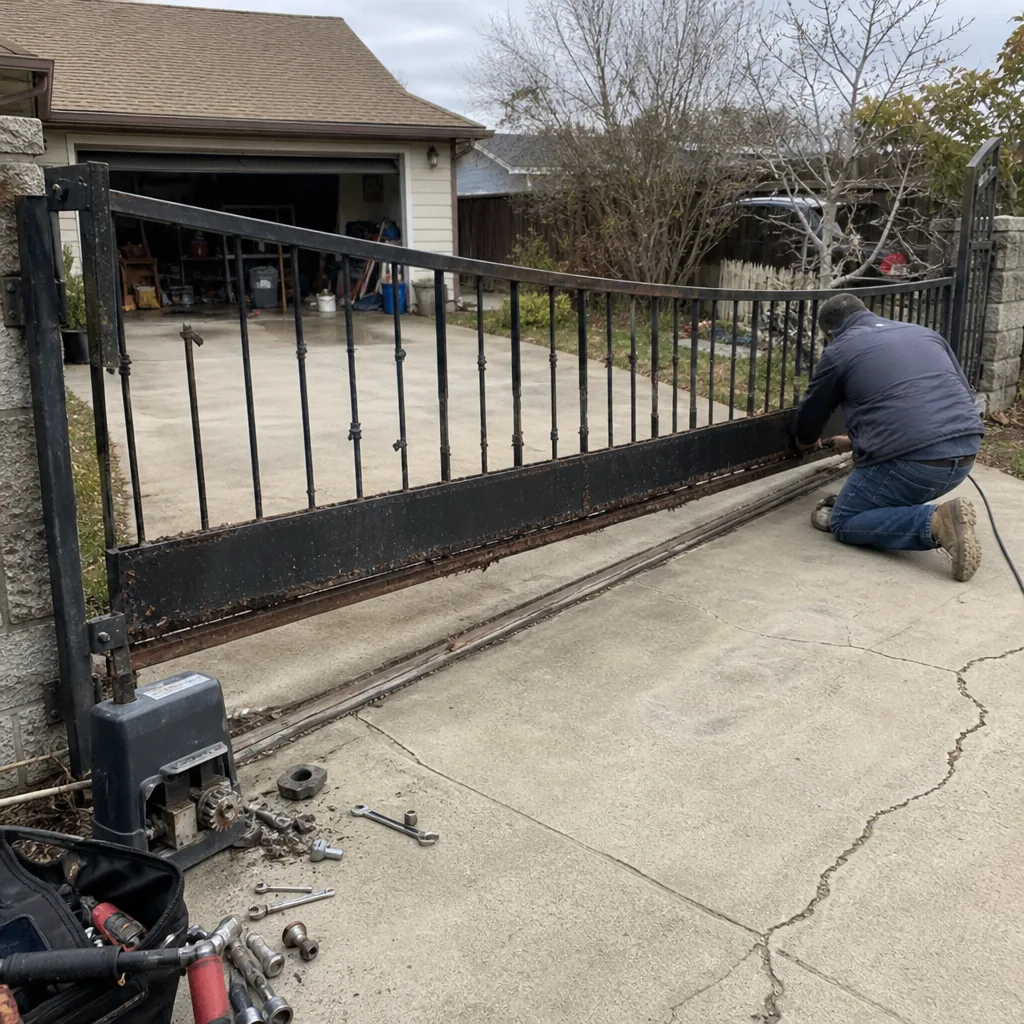 Before
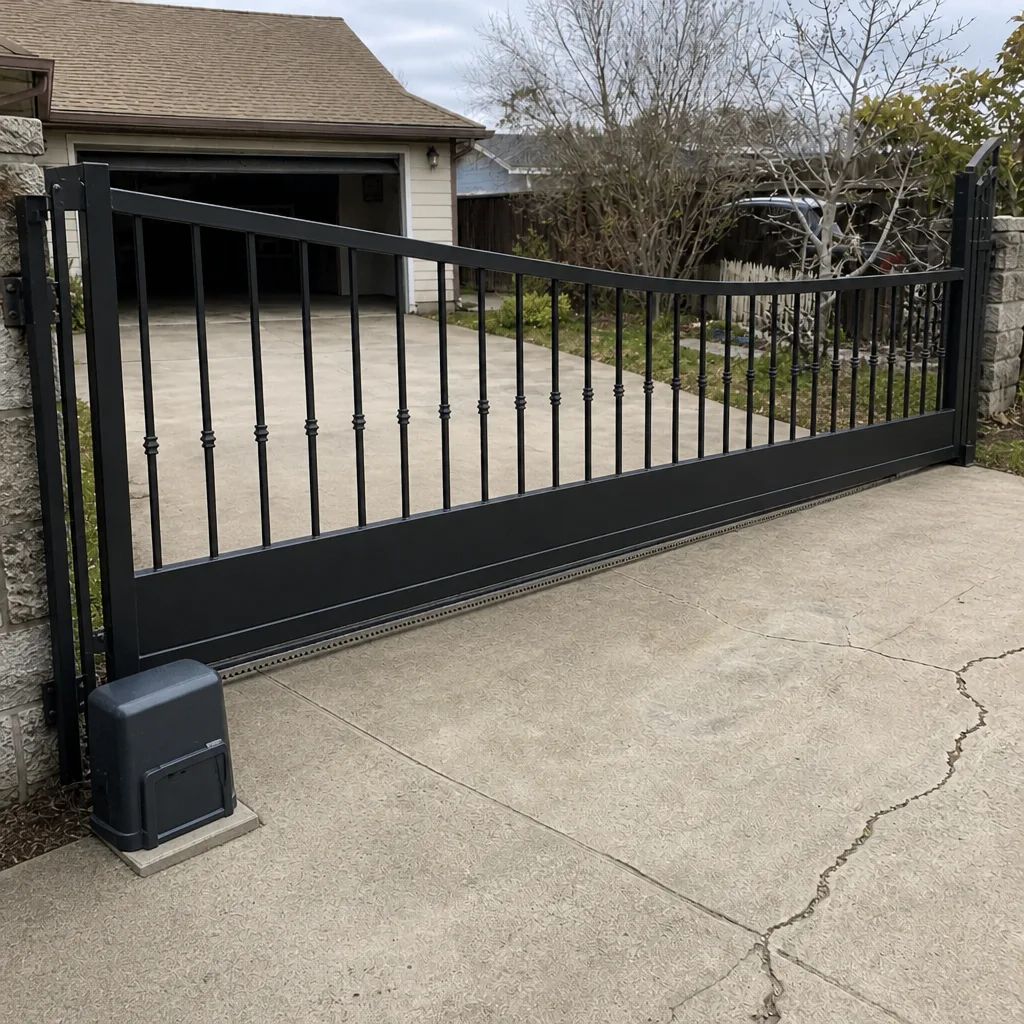 After
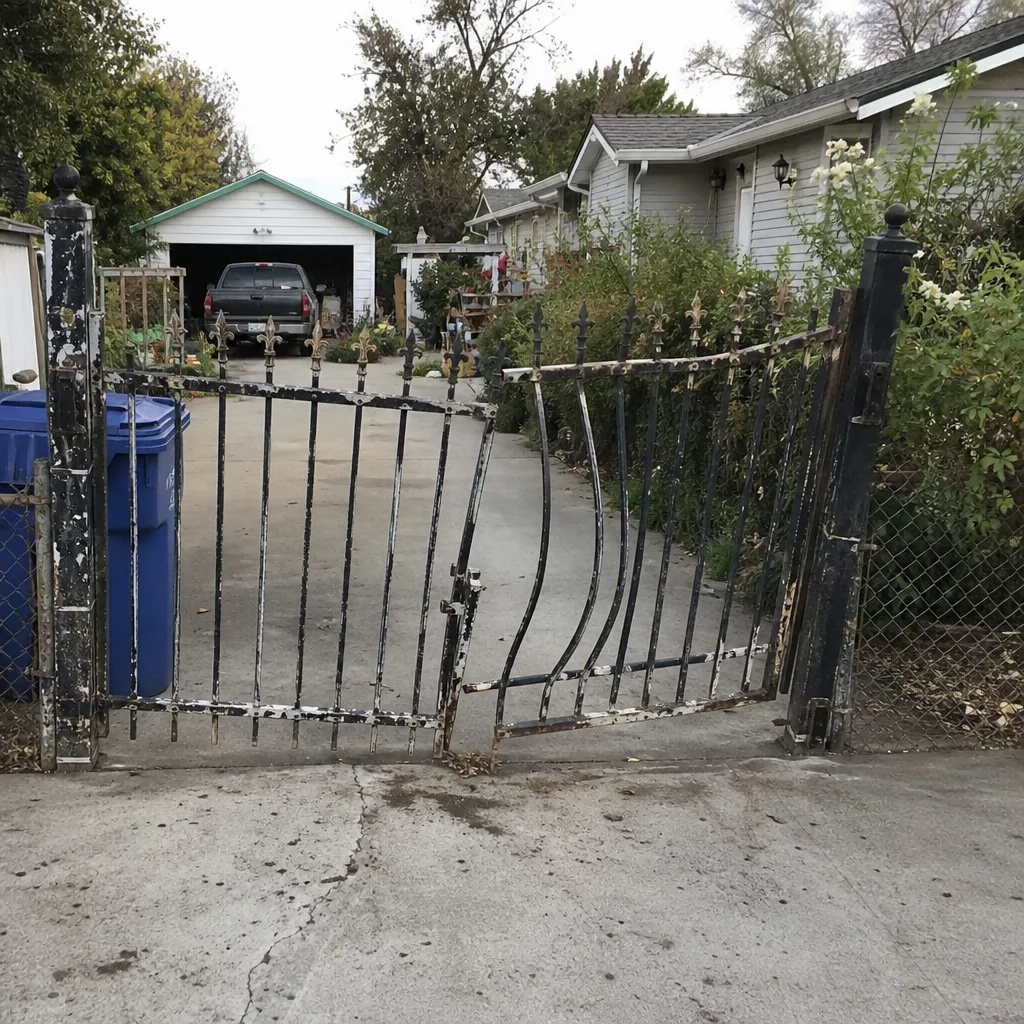 Before
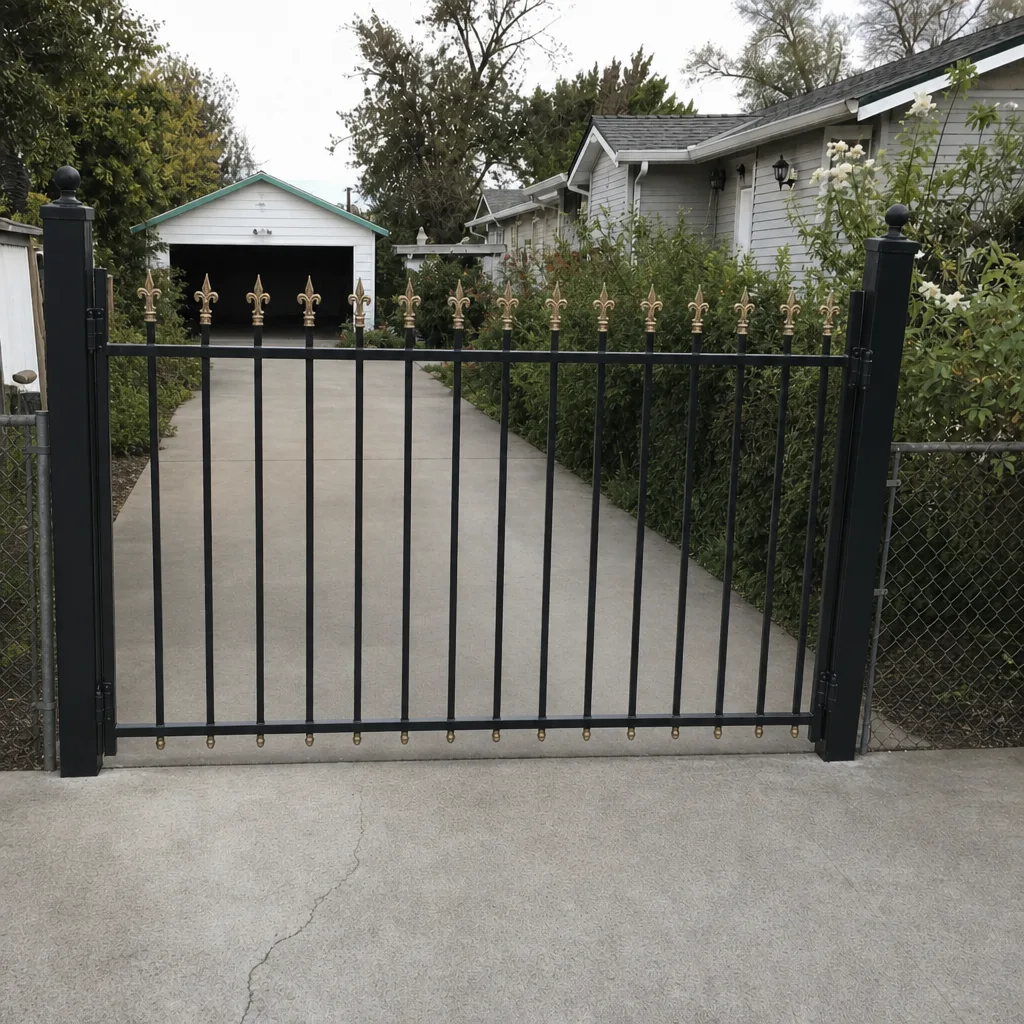 After
Frequently Asked Questions
Twice a year for a full inspection, with a quick visual check every month and a dedicated safety-device test each June. Stockton’s summer heat is hard on loop detectors and control boards, so the June check is the one not to skip. The twice-a-year rhythm catches wear before it becomes a repair.
Heat changes clearances and stresses the motor, but the more common cause is mechanical resistance: a binding hinge, a worn roller, or a track with grit in it. The motor pushes harder to compensate, and the gate travels slower. If the slowdown goes away in the evening, look at the electrical side too. Call (833) 946-1127 for an exact quote. Estimates are free.
Yes, at the points we’ve listed, but use the lubricant that matches your mechanism and brand. Rack-and-pinion, chain, and arm operators each need different treatment. If you don’t know the model, find the label first. Never lubricate the control box or any electrical connection.
The limit switch tells the operator where the gate’s open and closed positions are. When it drifts, the gate pushes against its stops, loads the motor, and drains the battery backup. You can spot drift by watching for strain, hesitation, or a gate that stops short. Adjustment is a technician job.
The operator brand and model, installation date, every inspection and adjustment with dates, photos at a consistent angle, and the original invoice and warranty papers. A clear log lets a technician diagnose quickly and supports a warranty claim. Our team works on nine major brands, so a brand-specific log helps us arrive prepared.
If the frame is sound and the operator is a current model, repair is usually the right first step. Replacement makes more sense when the frame is rusted through or the operator is no longer supported by its manufacturer. Get a diagnosis before you decide. Call (833) 946-1127. We answer 24/7. Fast dispatch from 7am to 7pm, Sunday through Friday.
The Bottom Line
Gate maintenance in Stockton comes down to a simple principle: the motor is the last thing to fail, not the first. Bind, drag, drift, and heat show up in the mechanics and the safety devices long before the motor gives out. Run the seven-point physical check twice a year, test the limit switches and loop detectors, lubricate to your brand, and keep a written log. That routine turns a catastrophic failure into a routine adjustment. It also gives any honest technician the information to fix the right problem. Our Gate Repair Stockton team works on manual and motorized gates of every major brand, and a free estimate starts with a phone call. Call (833) 946-1127. We answer 24/7. Fast dispatch from 7am to 7pm, Sunday through Friday.
Written by the team at Gate Repair Stockton, serving Stockton since 2017.