
Last updated November 14, 2026
 Wrought iron
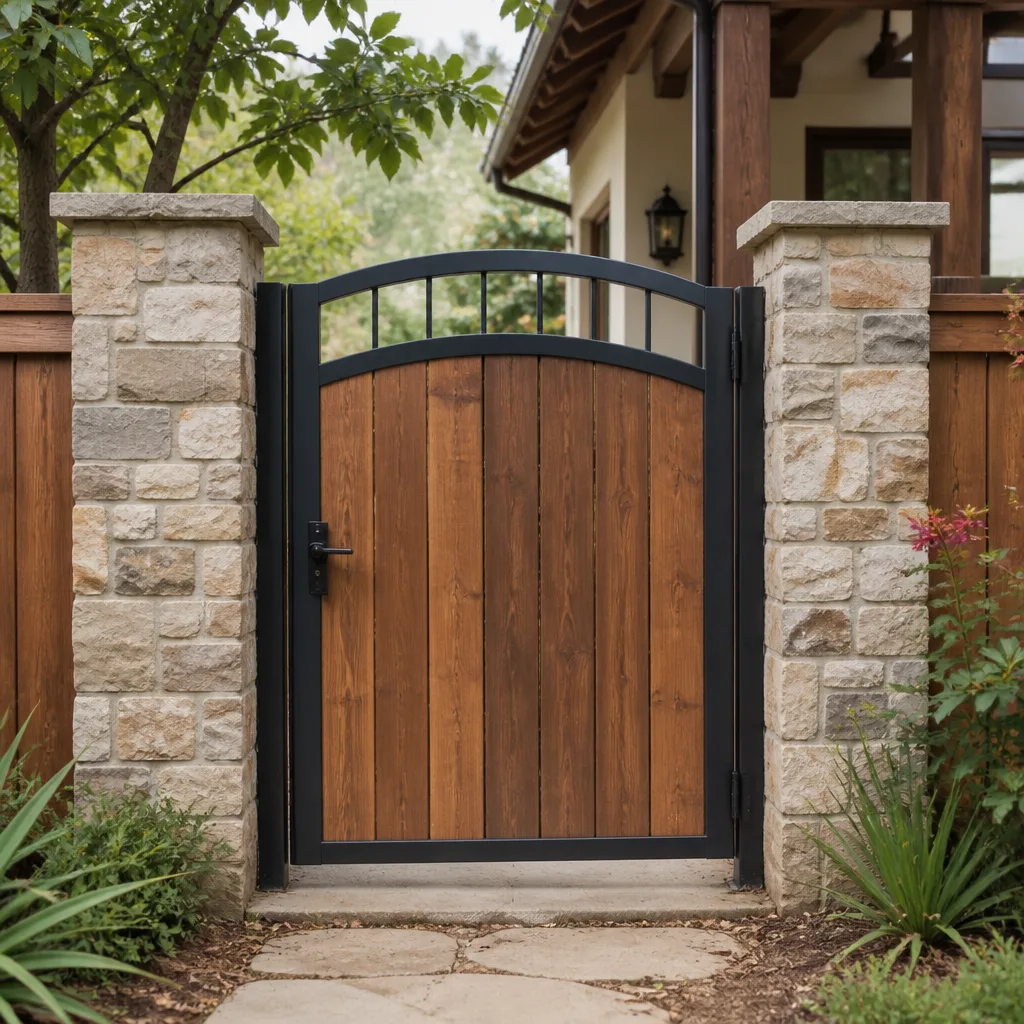 Wood & steel frame
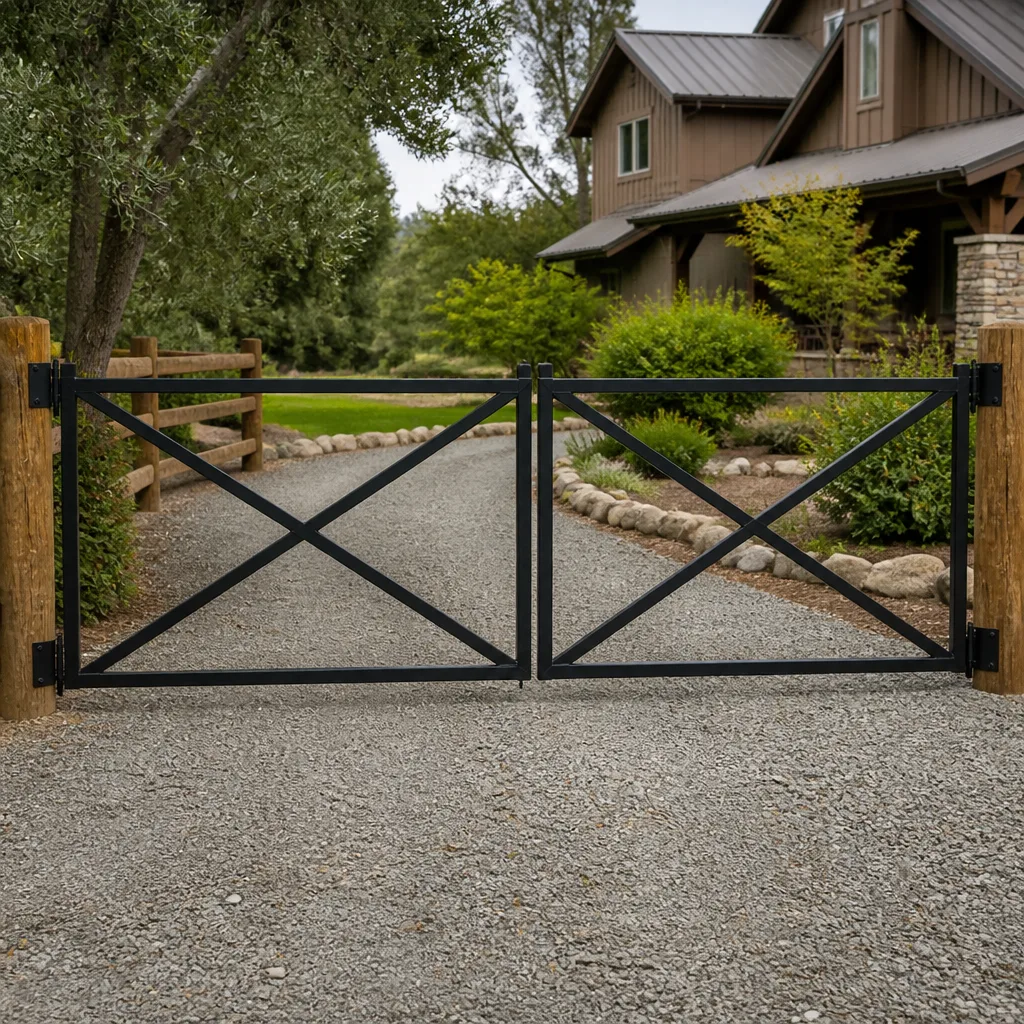 Farm & ranch
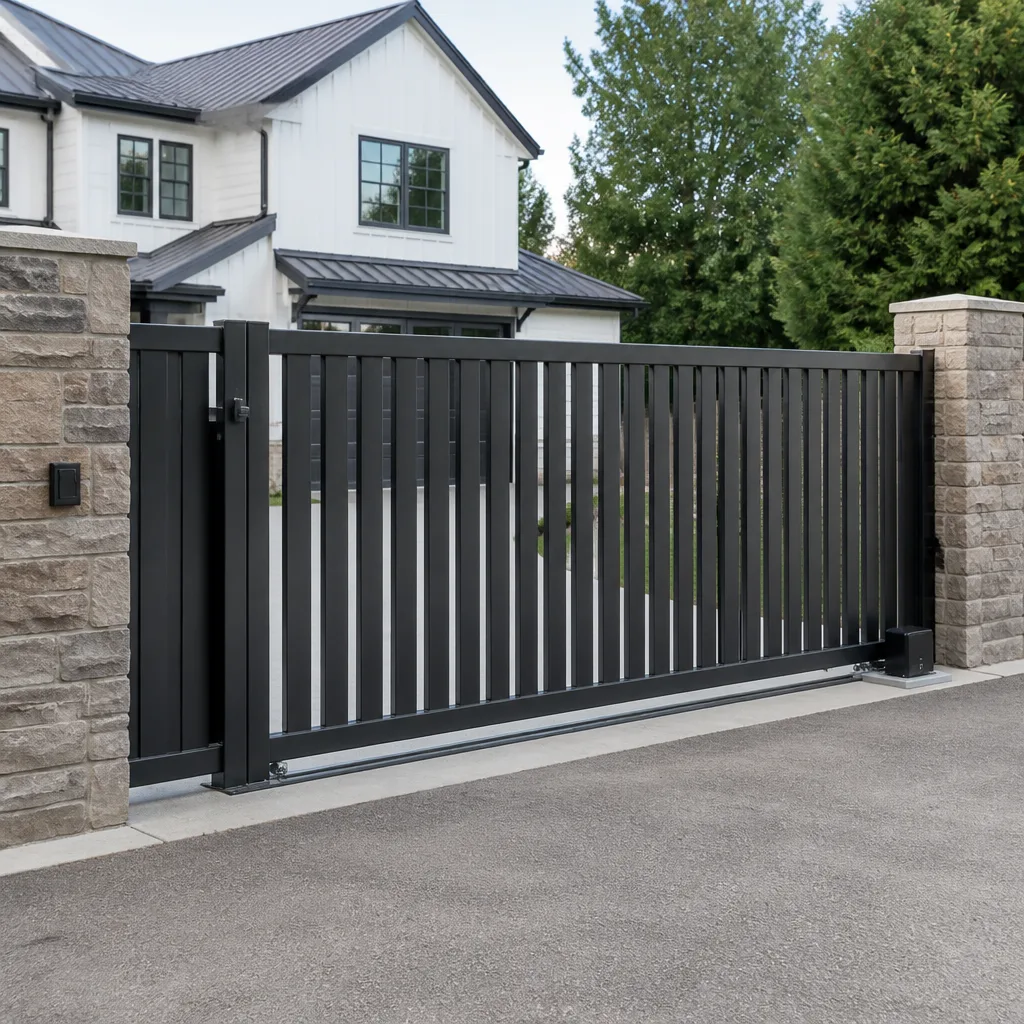 Sliding driveway gates
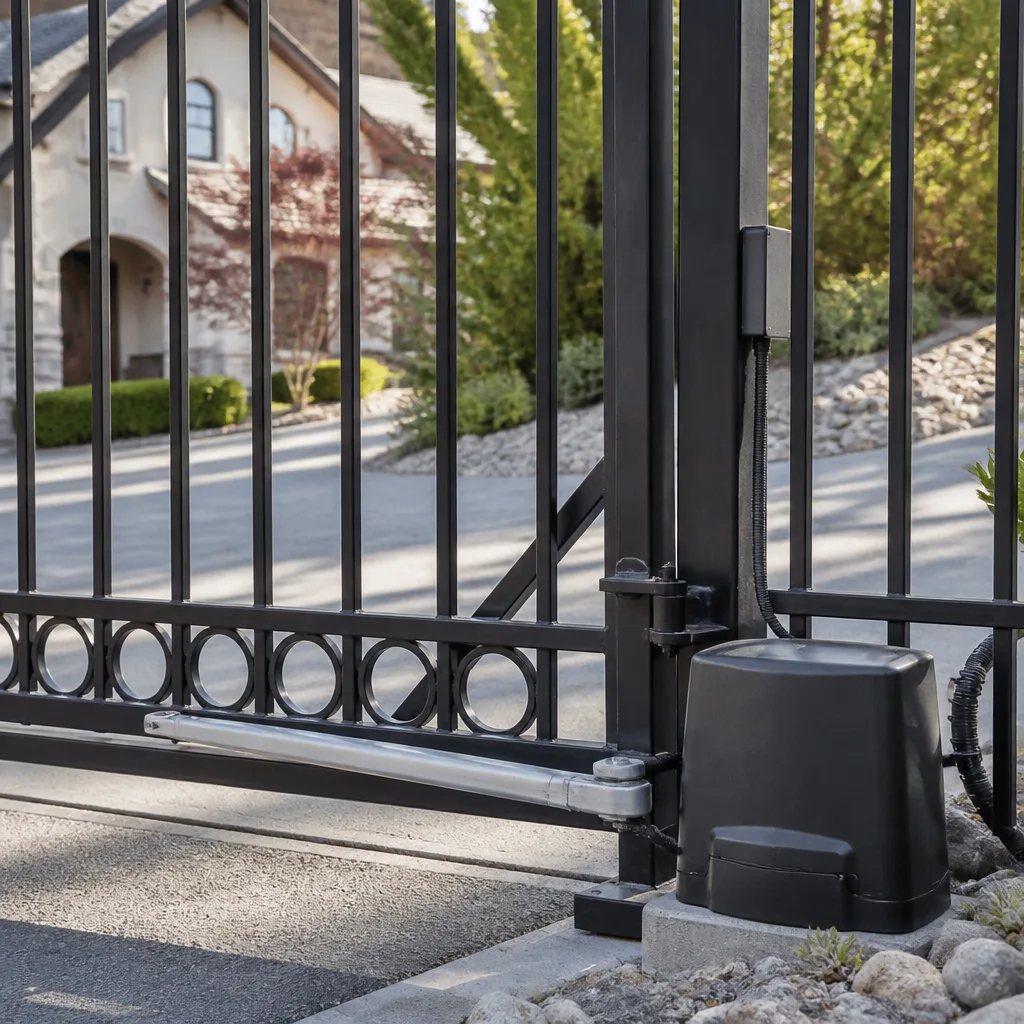 LiftMaster operators
Free on-site gate assessment - hinges, posts, and your LiftMaster or Nice gate operator checked before anything is quoted
The assessment is free and the quote is the invoice.
Get your free estimateDIY vs Professional Gate Repair: The Stockton Homeowner’s Decision Guide
Replacing a gate opener battery is DIY. Adjusting the force sensitivity on that same gate is not, and setting it wrong is how pedestrians get hurt and property owners end up in court. That’s the line we want to draw clearly for you. The DIY-versus-professional question isn’t really about whether you’re handy enough. It’s about system knowledge, and most homeowners don’t find out what they don’t know until a gate arm drops on a vehicle or a motor burns out for good. In this guide we’ll walk through exactly which tasks are safe to handle yourself, which ones require a technician who understands the standards, and why the cheap route often costs more. We’ll do it from a Stockton perspective, because the gates here live in a specific climate and a specific mix of housing that changes the math.
Quick Answer
Safe DIY gate work is limited to battery swaps, visual inspections, clearing debris from the track, and wiping down sensors. Anything involving the operator’s force settings, limit switches, wiring, control board, or heavy panels should go to a gate specialist. Getting those wrong creates injury and liability exposure that far outweighs the cost of a professional repair, and a free estimate from Gate Repair Stockton will tell you which side of that line your problem is on.
Styles & brands we work with
- Wrought iron
- Wood & steel frame
- Farm & ranch
- Sliding driveway gates
- LiftMaster operators
Table of Contents
- Where the DIY Line Actually Is
- The DIY Tasks That Are Genuinely Safe
- UL 325 Entrapment Protection and Why Settings Matter
- The Liability Transfer Nobody Warns You About
- Brand-Specific DIY Limits: LiftMaster vs Mighty Mule
- The Cost Comparison That Actually Matters
- What Makes Gate Repair Different in Stockton
- When to Call a Professional
Where the DIY Line Actually Is
The line isn’t drawn by how hard a task looks. It’s drawn by consequence. A battery swap that goes wrong leaves you with a gate that won’t open and a receipt for the battery. A force-sensitivity adjustment that goes wrong leaves you with a gate that closes on a child. Those two failures have completely different magnitudes, and that’s the whole framework you should use when deciding whether to pick up a wrench.
We think of gate work in three tiers. The first tier is cosmetic and consumable work: batteries, cleaning, visual checks. The second tier is mechanical adjustment that the manufacturer has designed for owner access, which varies by brand. The third tier is everything that touches the safety system, the power supply, the control board, or the physical structure of the gate itself. Tier one is yours. Tier two depends on the manual. Tier three belongs to a trained technician.
Why does the tier system matter so much for a gate? Because a gate is the one piece of property equipment that moves under its own power in a space where people walk. A garage door has a wall behind it. A gate has a driveway, a sidewalk, sometimes a parking lot. When a gate operator is set incorrectly, the failure mode is contact with a person or a vehicle, not just a door that won’t close. That’s why the safety standards around gates are stricter than people expect, and why we’re cautious about recommending any adjustment that touches the closing force.
Here in Stockton, we see a wide mix of gate types across neighborhoods like Lincoln Center, the Miracle Mile, and Brookside. Older manual swing gates on established lots, newer automated slide gates on larger parcels, and HOA-controlled entry systems in subdivisions. Each type has a slightly different DIY boundary, but the tier framework holds across all of them. If you’re ever unsure which tier a task falls into, the honest answer is to treat it as tier three until a technician tells you otherwise.
The DIY Tasks That Are Genuinely Safe
There’s a real list of things you can do yourself on virtually any gate system, and we’d rather you know it than pay for a visit you didn’t need. None of these require tools beyond a screwdriver, a rag, or a battery. None of them touch the operator’s programming. If your problem is on this list, go ahead.
- Replace the remote battery. A remote that stops working at range is usually a dead coin cell. Pop the cover, match the battery number printed inside, replace it.
- Replace the operator battery on a battery-backup system. If your gate has a backup battery and it no longer runs during a power cut, a straight battery swap is owner-level work on most systems.
- Clear debris from the track and rollers. Leaves, dirt, and small branches in a slide gate’s track cause drag that the motor reads as an obstruction. Sweeping the track clear is safe and often solves phantom stops.
- Wipe the safety sensors. Dust and spider webs on photocell lenses cause false obstructions on automated gates. A clean, dry cloth on the lens is fine.
- Visual inspection of hinges, posts, and panels. Look for rust, sagging, loose bolts, or a panel that’s dropped. You’re not fixing it, just noting it.
- Check that the manual release works. Every automated gate has a manual release key or lever. Confirm it operates so you’re not stuck during an outage. Don’t force it if it’s stiff.
- Trim vegetation away from the gate path. Overgrowth blocking a sensor or dragging on a panel is a maintenance chore, not a repair.
That’s the list. It’s short on purpose. Everything past it starts to involve either the safety system or the electrical system, and those are the two areas where a mistake has real consequences. If your gate is doing something on this list and the fix doesn’t work, that’s your signal to stop and call someone.
UL 325 Entrapment Protection and Why Settings Matter
UL 325 is the safety standard that governs automated gate operators, and the part that matters most for homeowners is entrapment protection. In plain terms, an automated gate must be able to detect an obstruction and reverse or stop before it crushes or traps a person, a pet, or a vehicle. The operator’s force settings, its reversal sensitivity, and its photo-eye and edge-sensor integration all work together to make that happen. Those settings are calibrated, not guessed.
Here’s the part that trips people up: a product label that says “tested to UL 325” tells you the operator was designed to meet the standard. It does not tell you the unit in your driveway is installed and calibrated to meet it. Testing happens at the factory. Calibration happens in the field, on your gate, with your specific weight, your specific track, and your specific site conditions. A perfectly compliant operator set to the wrong force sensitivity is not a compliant installation. It’s a machine that can hurt someone.
This is why we treat force and reversal adjustment as a professional task, not an owner task, regardless of brand. The adjustment itself takes minutes. Knowing what the correct setting is for your gate’s weight and travel, and confirming it with a physical obstruction test, is the part that requires training. We’d rather you didn’t learn that by trial and error on a live gate.
The same logic applies to photo-eye alignment and edge-sensor wiring. A photo-eye that’s aimed slightly off, or a safety edge wired to the wrong terminal, leaves the gate fully operational and fully unprotected. Nothing about the gate’s behavior will tell you it’s unsafe until the moment it matters. That’s the definition of a problem you can’t self-diagnose.
The Liability Transfer Nobody Warns You About
When you modify a gate operator’s safety settings, you take on a specific kind of responsibility, and it doesn’t go away when the gate starts working again. If a gate injures someone or damages a vehicle, one of the first things an insurer or an attorney will ask is whether the operator was set to manufacturer specifications at the time of the incident. If you adjusted the force sensitivity, the reversal distance, or the sensor timing, that question becomes much harder to answer.
Documentation is the crux of it. A professional repair comes with a record: what was diagnosed, what was adjusted, what was tested, and when. That record is what you produce if there’s ever a claim. A homeowner adjustment leaves no record at all, which means the burden falls on you to prove the settings were correct, and you generally can’t prove something you never documented.
This matters more in shared-access settings. If you manage a property for an HOA or a commercial building in Stockton, you’re responsible for a gate that dozens or hundreds of people use every day. An undocumented safety adjustment on a shared gate is a liability exposure that belongs to the property, not the individual who made the change. For a property manager, that’s an easy case for calling a specialist. For a homeowner, it’s a harder one, because the risk is invisible until it isn’t.
We’re not telling you this to scare you into a service call. We’re telling you because it’s the single most underweighted factor in the DIY decision, and because the honest answer is that a documented professional repair is often the cheaper option once you account for what an undocumented adjustment could cost you later.
Brand-Specific DIY Limits: LiftMaster vs Mighty Mule
Not every brand draws the line in the same place, and knowing your brand’s stance tells you a lot about what you should attempt. The two ends of the spectrum are LiftMaster and Mighty Mule, and the contrast is instructive.
LiftMaster sits at the stricter end. Their operators are designed and installed as professional-grade systems, and the documentation is written for the installer, not the end user. Force adjustments, limit settings, and control-board programming are explicitly outside the scope of what an owner is meant to change. That’s not a knock on the brand. It reflects that these operators are often installed on shared-access or commercial gates where the safety stakes are higher, and the manufacturer wants a trained technician doing the calibration. If you have a LiftMaster operator and something has shifted out of adjustment, that’s a specialist call.
Mighty Mule sits at the other end. These are designed for the residential DIY installation market, and the manuals are written with the homeowner in mind. Some basic setup and adjustment steps are genuinely within the owner’s scope, and the brand expects you to do them. Even here, though, the safety settings still require care, and an incorrect adjustment carries the same liability as on any other operator.
The other brands we service regularly, including FAAC and BFT, land somewhere between the two ends. Their manuals assume an installer, their settings are field-calibrated, and their components are built for professional service. We work on all of them, and the practical rule is this: if your manual is written for the installer, the settings in it are an installer’s job.
The Cost Comparison That Actually Matters
Most DIY-versus-professional comparisons only count the visible numbers: the part cost versus the repair cost. That’s the wrong comparison. The one that actually matters is the total cost when you DIY and it doesn’t work, which includes the part you bought, the tool you needed, the professional repair bill to fix what you did, and the time you spent. Often that total is higher than calling a specialist in the first place.
Here’s the comparison laid out properly:
| Scenario | Typical cost behavior (estimated, per job) |
|---|---|
| Safe DIY task (battery, cleaning, sensor wipe) | Low parts cost, no labor. Usually the right call. |
| DIY attempted on a safety setting or control board | Parts cost plus a professional diagnostic and repair bill to correct the damage. Often higher than calling first. |
| Professional repair of a known problem | Quoted and agreed before work begins. No surprises. |
| Professional repair after a failed DIY attempt | Diagnostic plus repair, and occasionally a replacement part the DIY attempt damaged. |
The key difference is that a professional repair of a known problem is quoted and agreed before any work starts. You know the number before the technician picks up a tool. A failed DIY attempt has no ceiling, because the damage isn’t known until someone diagnoses it. That asymmetry is the real argument, more than any specific price.
We do free estimates, and the estimate is what sets the price. If you’re not sure whether your gate’s issue is in DIY territory or specialist territory, that’s the cheapest way to find out. We’d rather tell you to change your own battery than spend a visit replacing one.
What Makes Gate Repair Different in Stockton
A gate in Stockton lives in a particular set of conditions, and those conditions change which failures are common and which ones you’re likely to face. The summers are hot and dry, and the ground here can shift with the seasonal moisture swing. That affects gate posts, hinges, and the alignment of slide-gate tracks more than people expect. A post that has moved a fraction of an inch throws a gate’s travel off and forces the operator to work harder. That’s a structural issue, not an owner adjustment.
The dust and dry air here also accelerate wear on the moving parts that keep a gate running smoothly. Rollers, hinges, and guide posts collect grit, and the drag builds up gradually until the motor starts straining. Regular track clearing, which is a safe DIY task, does real work against that. What it won’t fix is a gate that’s already fallen out of alignment, which is where a technician comes in.
Stockton’s housing mix matters too. We work on gates at older homes around the Miracle Mile where the hardware has decades on it, and on newer automated systems in subdivisions where the operator is brand new and the issue is calibration. Both are gate repair problems, but they need different answers. For more on how we approach the whole range of issues across the city, you can read about Stockton service and what a typical visit looks like.
One more factor: the wide range of brands installed here. You’ll see LiftMaster operators on commercial entrances, FAAC and BFT on newer residential automated gates, and Linear on plenty of older systems. Knowing which brand you have, and having a technician who’s fluent in that brand, saves time and prevents parts-swapping guesses. Our team works across the major residential and commercial gate brands, which means you don’t need to hunt down a brand-specific specialist.
See the difference
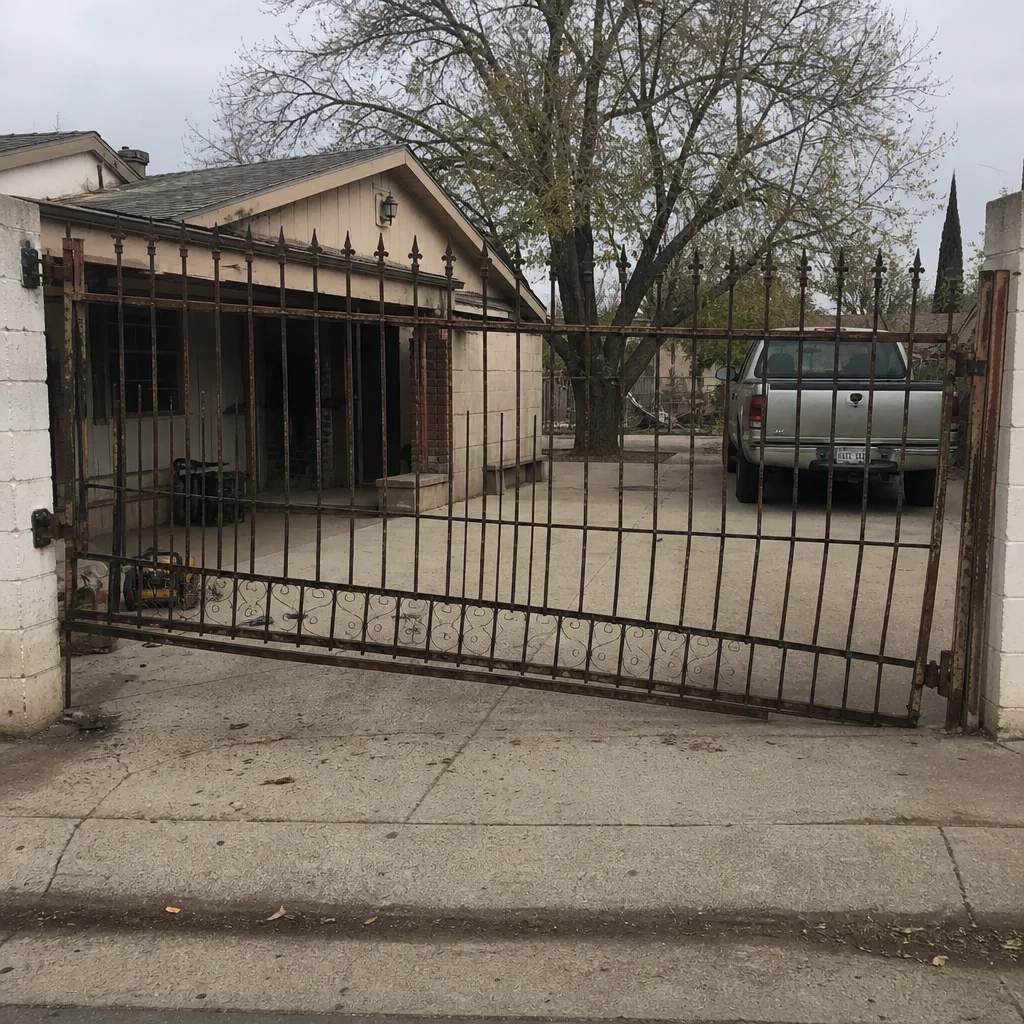 Before
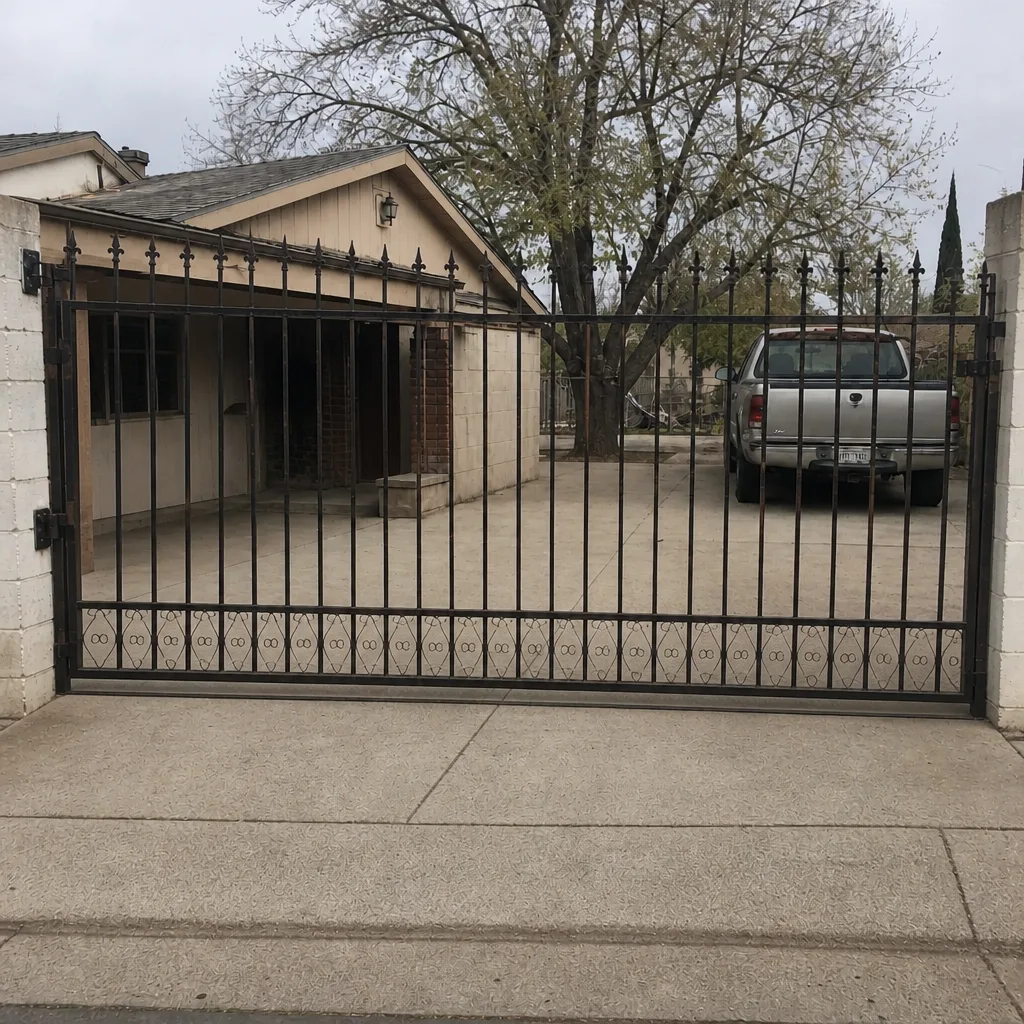 After
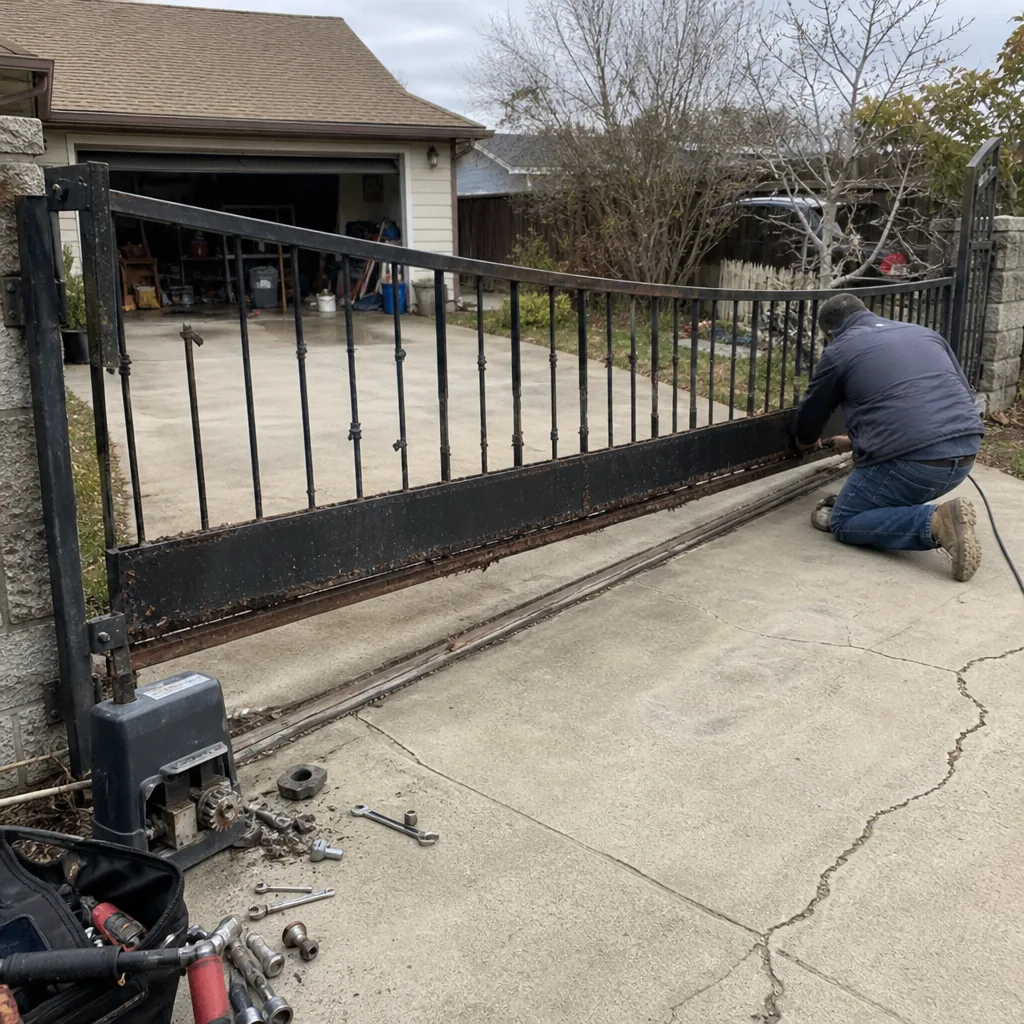 Before
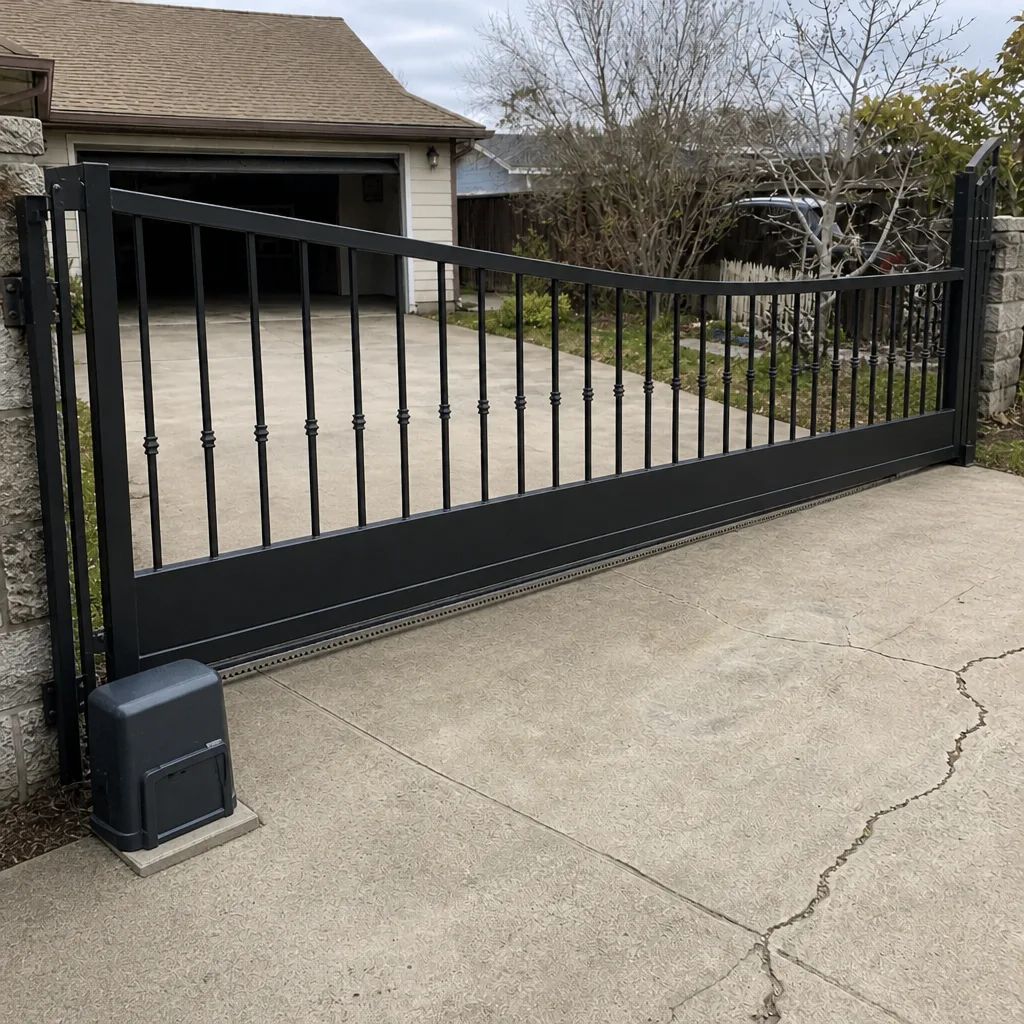 After
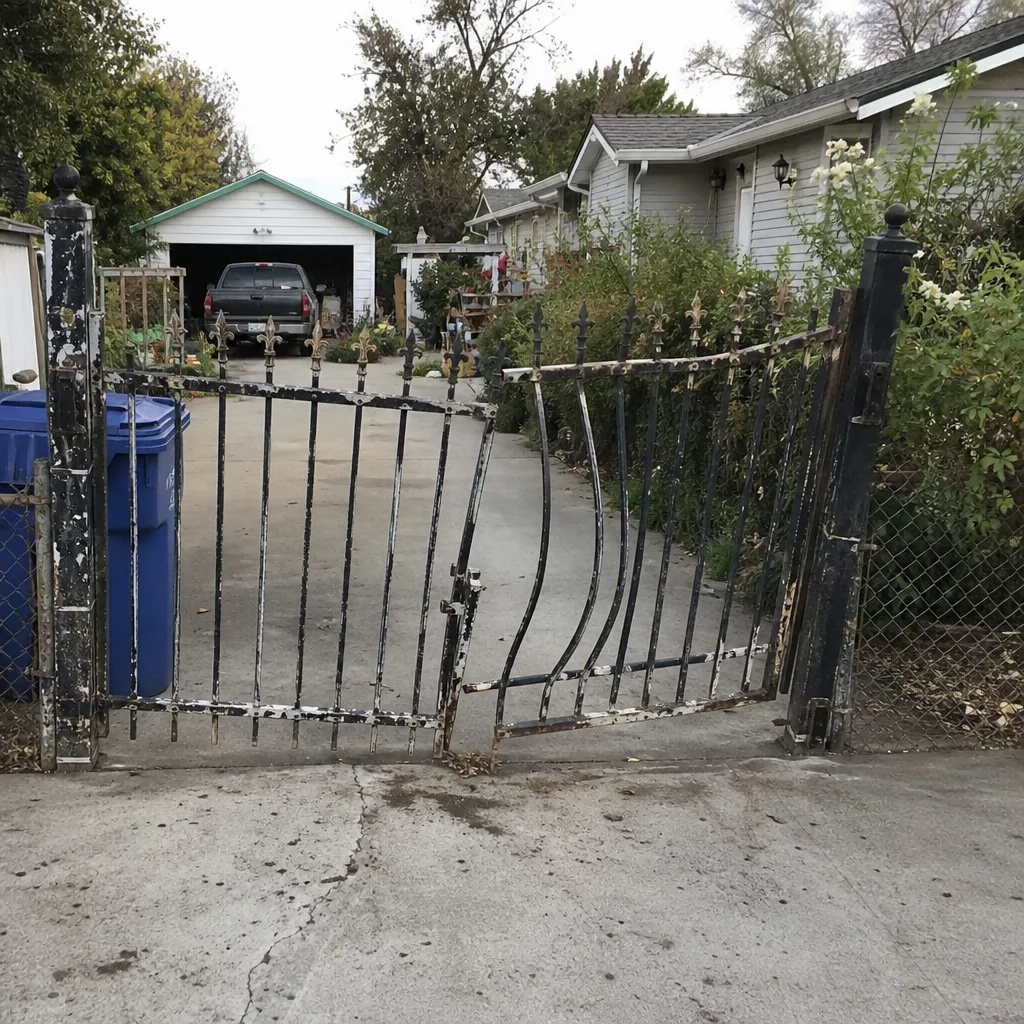 Before
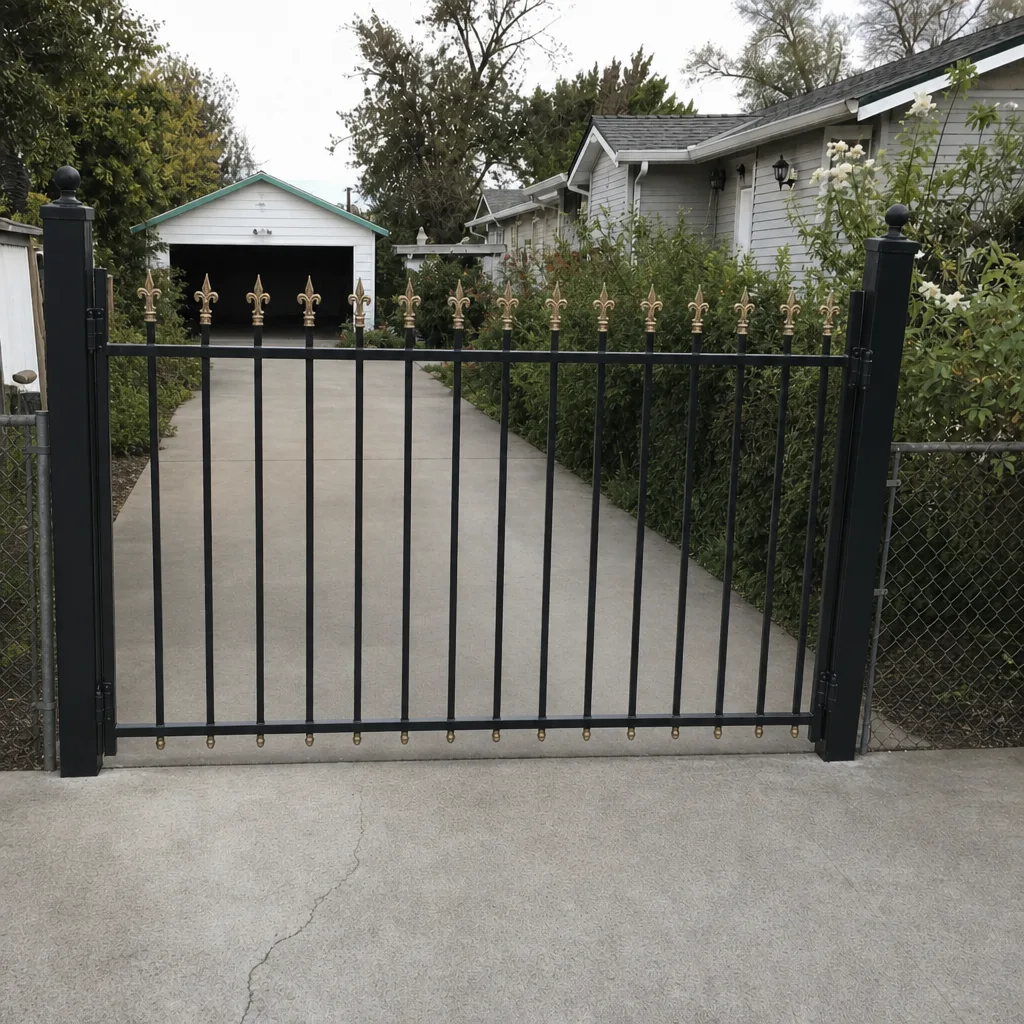 After
Common Mistakes to Avoid
- Adjusting force sensitivity to fix a dragging gate. If the gate drags, the drag is the problem, not the force setting. Crank the force up and you’ve hidden a mechanical issue behind a safety risk.
- Bypassing a photo-eye “just for now.” A disabled safety sensor is a disabled safety sensor. There is no temporarily safe version of this, and it’s the most common cause of a gate striking a vehicle.
- Buying a replacement part by brand alone. Matching the brand isn’t enough. The operator model, voltage, and travel length all matter. A wrong part can damage the control board.
- Ignoring a post that has shifted. In Stockton’s soil, posts move. A gate that has started scraping or binding is usually telling you the post has shifted, and no operator adjustment fixes that.
- Assuming “tested to UL 325” means your gate is compliant. The label is on the operator, not on your installation. The calibration on your gate is what counts.
- Trying to fix a control board without documentation. Control boards vary widely by brand. Without the right manual, you’re guessing at terminals, and a wrong connection can take out the board.
- Not testing the manual release before you need it. Every automated gate has one. If it’s seized, you find out during an outage, when the gate is stuck across your driveway.
When to Call a Professional
Call a professional when the problem touches the operator’s safety settings, the control board, the wiring, the power supply, or the physical structure of the gate. Call when a gate arm has dropped, when the gate reverses randomly, when a motor is straining, or when a post has shifted and the gate no longer tracks straight. Call when you’ve tried the safe DIY steps and the issue remains, because continuing past that point is how a small problem becomes an expensive one. And call when you manage a shared-access gate, because the documentation matters more than the fix itself.
Gate Repair Stockton offers free estimates in Stockton. Call (833) 946-1127. We answer 24/7, and fast dispatch runs from 7am to 7pm, Sunday through Friday. Electric gate repair is a named specialty for us, so if your issue is in the motor, the control board, or the access system, you’re talking to people who work on those systems every day rather than a generalist guessing at it.
Frequently Asked Questions
Yes. Replacing the operator battery on a battery-backup gate system is a safe owner-level task on most brands, and so is replacing a remote battery. Match the battery type printed on the old unit or in the manual, and don’t force any connector that doesn’t seat cleanly. If the gate still won’t run on backup after a fresh battery, that’s a diagnostic question for a technician. Call (833) 946-1127 for a free estimate if the battery swap doesn’t solve it.
No. Force sensitivity and reversal distance are safety settings, and setting them wrong is how a gate closes on a person or a vehicle. The adjustment takes minutes, but confirming the correct setting for your gate’s weight and travel requires training and a physical obstruction test. Leave it to a technician, and get it documented. Call (833) 946-1127 for a free estimate on calibration.
It means the operator was designed and tested to meet the entrapment protection standard. It does not mean the specific gate in your driveway is installed and calibrated to that standard. The testing happens at the factory, and the calibration happens on your site. Those are two different things, and only the second one protects you. Call (833) 946-1127 for a free estimate if you’re unsure whether your gate is calibrated correctly.
Very possibly. If a gate injures someone or damages a vehicle, one of the questions is whether the operator was set to manufacturer specifications and whether there’s a record of it. A professional repair leaves documentation. An owner adjustment generally doesn’t. That’s the main reason we recommend documented professional work on any safety-related setting. Call (833) 946-1127 for a free estimate and to start a repair record.
We work across the major residential and commercial gate brands, including LiftMaster, FAAC, BFT, and Linear, along with a number of others. Our technicians focus only on gates, so their parts knowledge and troubleshooting experience is gate-specific rather than spread across unrelated trades. If you’re not sure whether your brand is covered, call and ask. Call (833) 946-1127 for a free estimate.
It depends on the problem. If the issue is on the safe DIY list, a battery swap or a track clearing, it isn’t worth a visit and we’ll tell you so. If the issue touches the operator, the wiring, or the post alignment, it usually is, because the small problem is often a symptom of a larger one. A free estimate settles it. Call (833) 946-1127.
The Bottom Line
The DIY-versus-professional question for gate repair comes down to system knowledge, not skill level. You can safely handle batteries, cleaning, track clearing, and visual checks on any gate. Everything that touches the operator’s safety settings, the control board, the wiring, or the structure of the gate belongs to a trained technician, and that includes brands like LiftMaster that put those adjustments outside the owner’s scope. The cost comparison that matters includes the repair bill after a failed DIY attempt, and a documented professional repair is frequently the cheaper path. If you’re in Stockton and unsure where your problem falls, get a free estimate before you start. It costs nothing and it might save you a motor.
If you need help deciding, or you’ve already found that your issue is past the DIY line, call Gate Repair Stockton at (833) 946-1127. We answer 24/7. Fast dispatch from 7am to 7pm, Sunday through Friday. Free estimates, and the price is quoted and agreed before any work starts. For the full range of what we handle, see Gate Repair Stockton and our gate repair service page.
Written by the team at Gate Repair Stockton, serving Stockton since 2017.